LoopTimer
Visual Countdown Timer
LoopTimer was conceived by Cody, a practicing chiropractor in the Pacific Northwest, who sought a more intuitive way to manage time within his clinical workflow. Traditional timers relied on numeric countdowns and audible alerts, requiring users to perform mental calculations to understand remaining time.
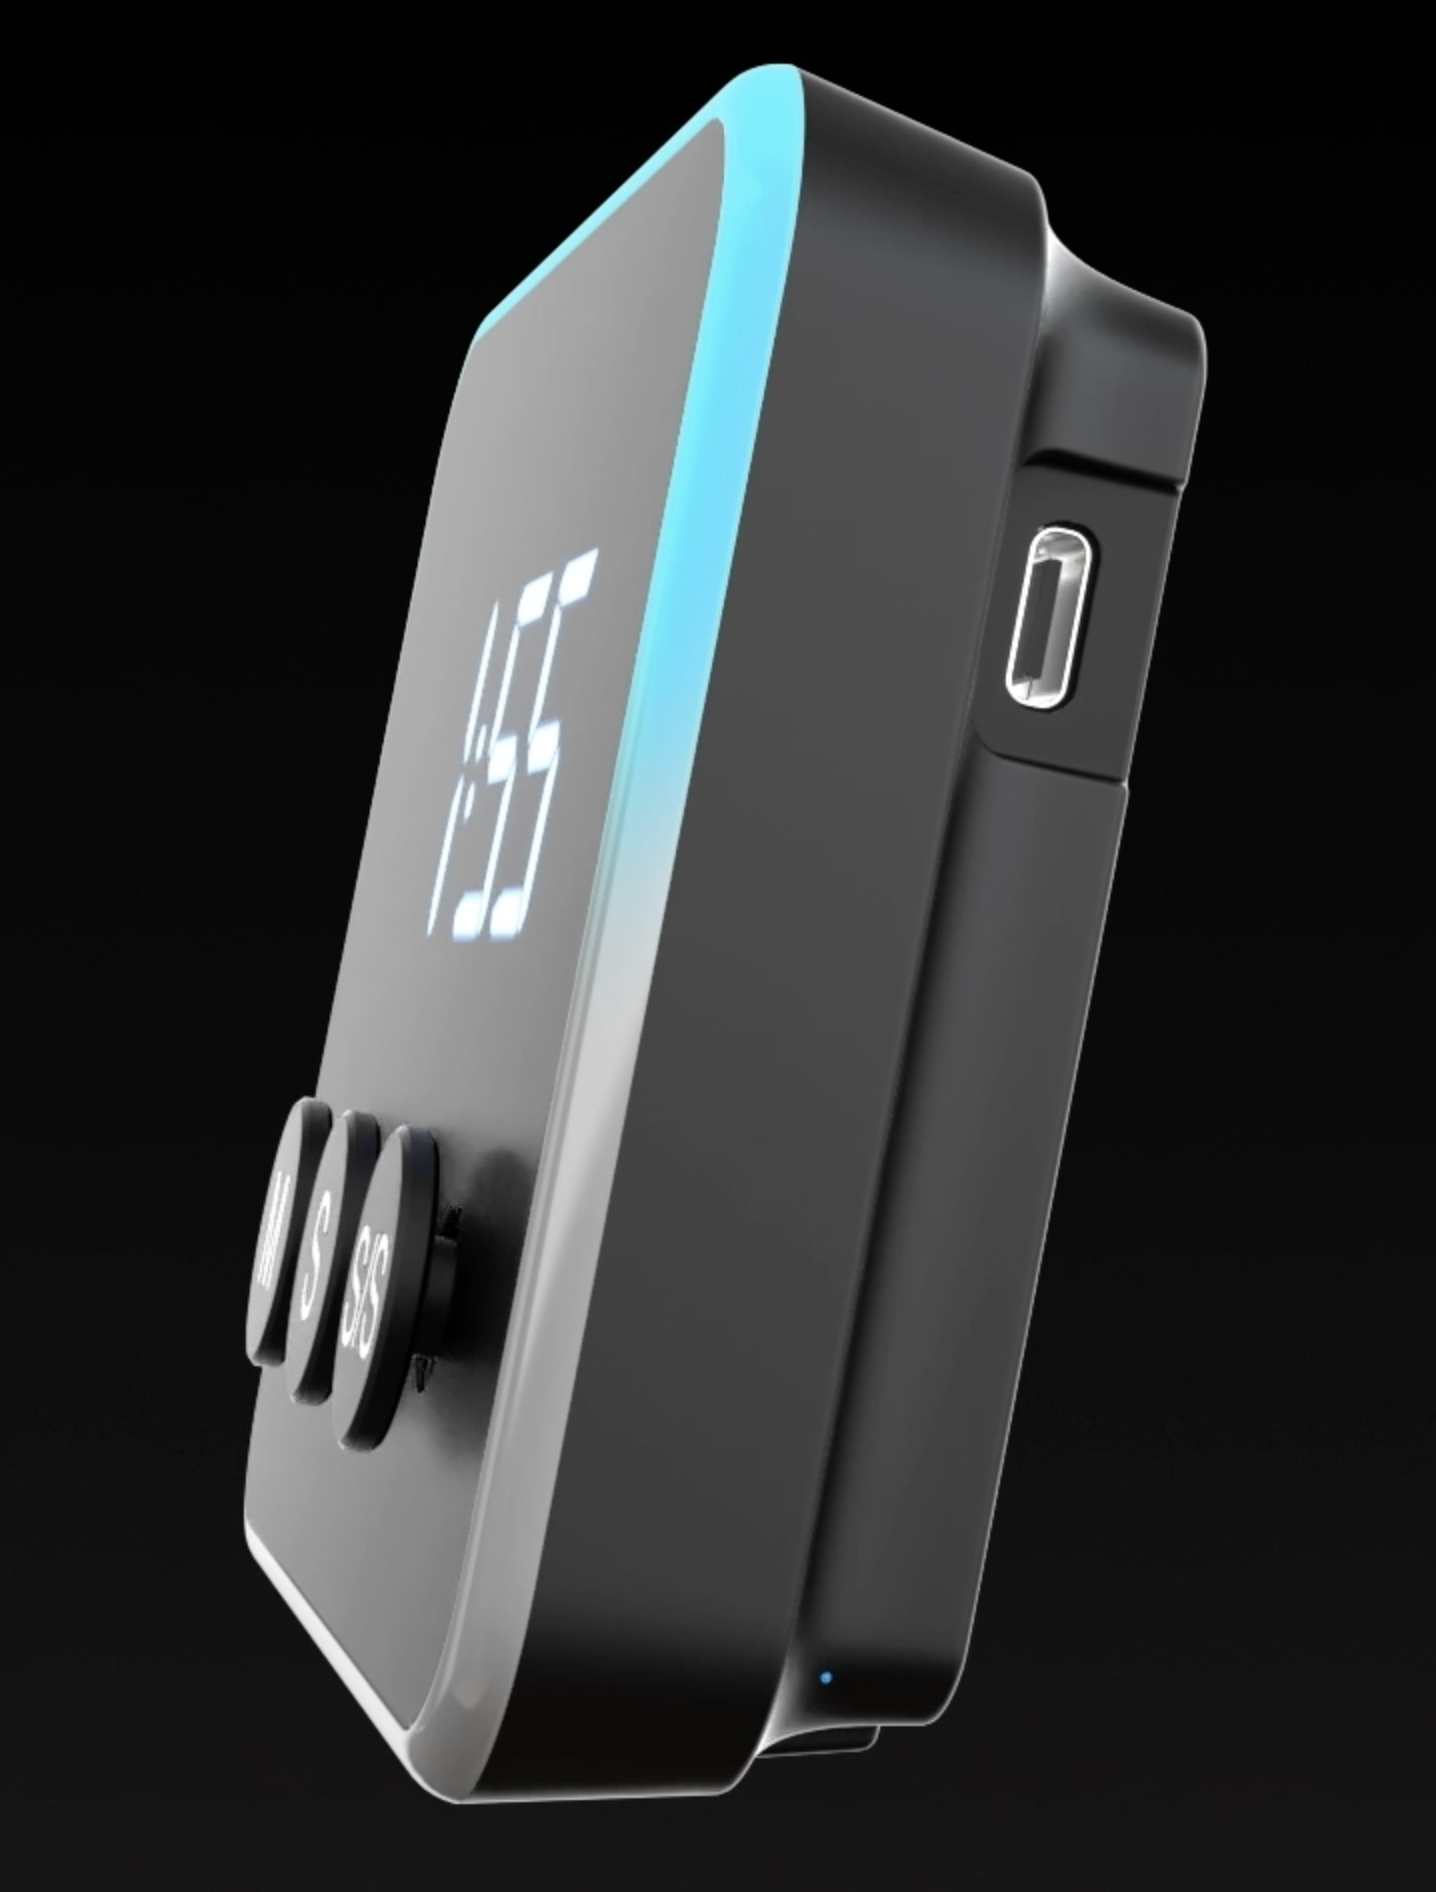
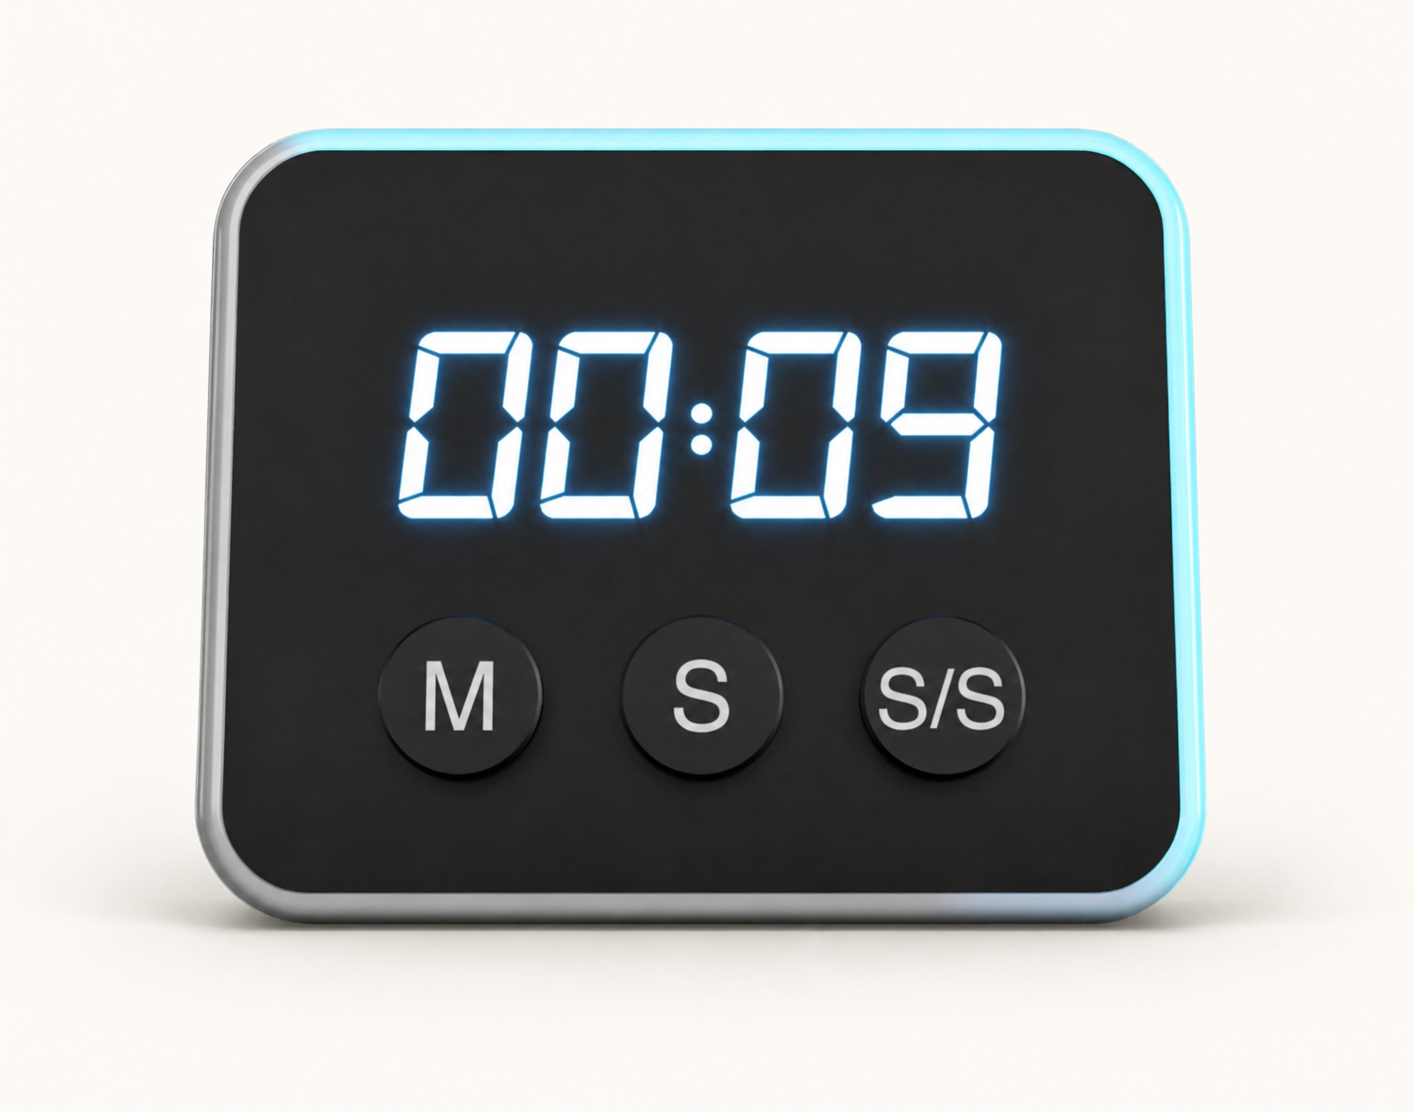
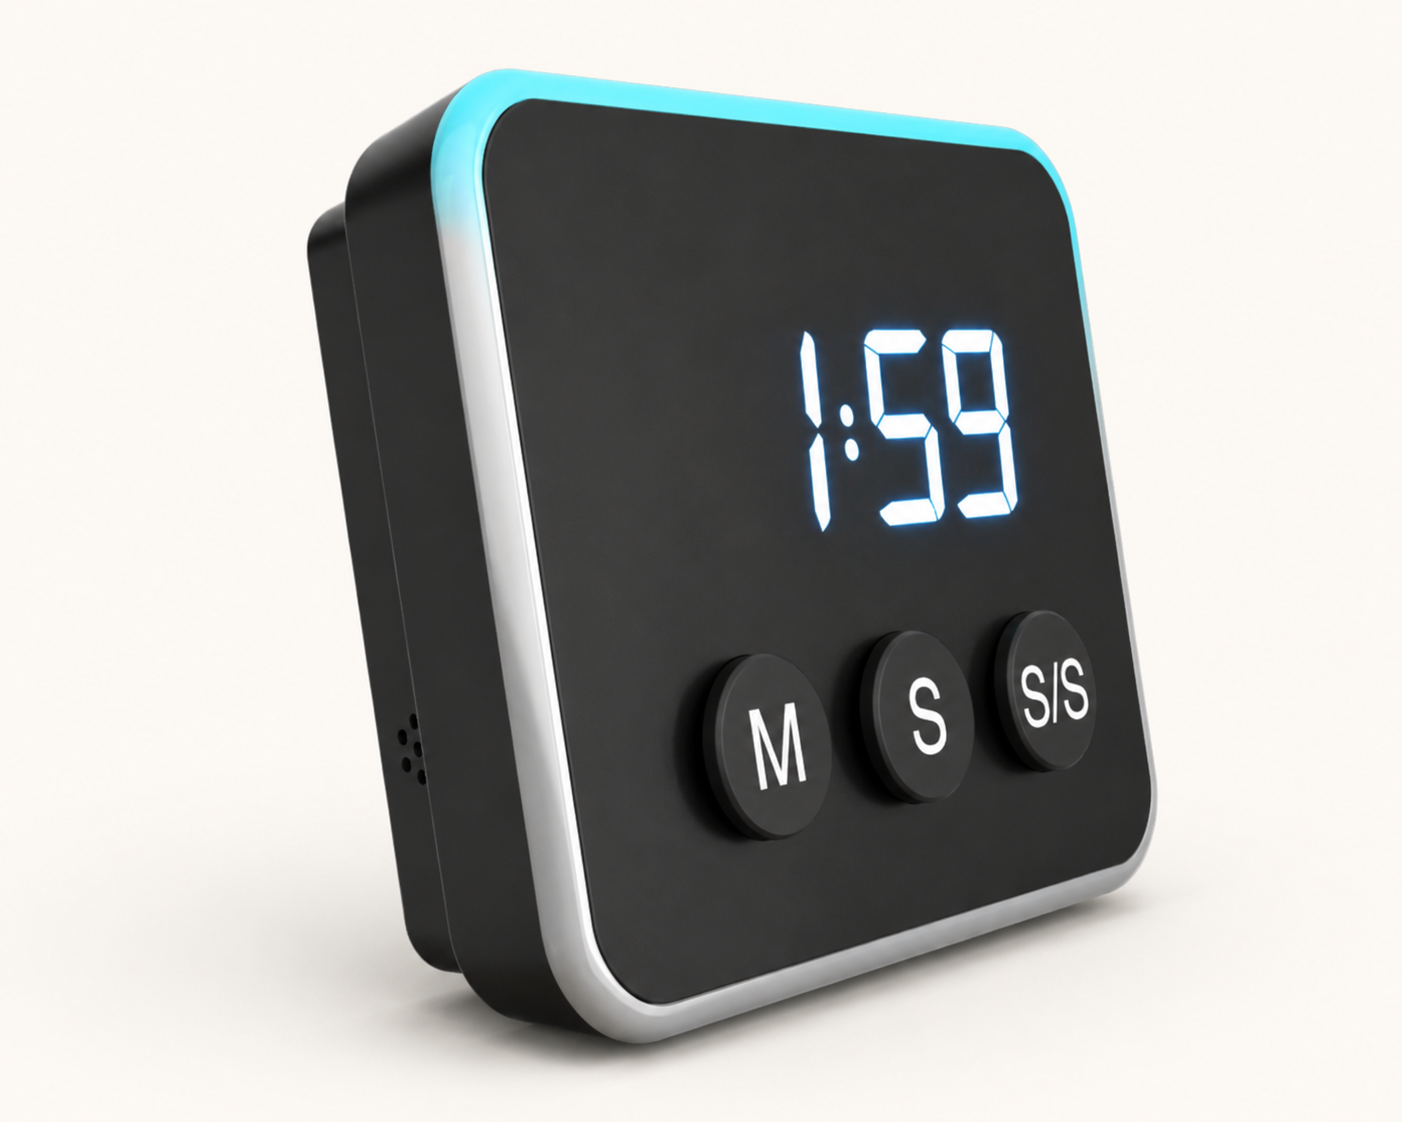
Cody envisioned a device that would transform time into a visual experience. A timer with a simple clean aesthetic and a bright crisp numerical display that has a visible progressing light around the circumference to communicate remaining duration at a glance, without cognitive effort.
Cody worked with a local design firm to develop concepts and preliminary breadboard electronics. The concept looked promising, but it required custom electronics, mechanical refinement, and production-focused engineering to become a manufacturable product.
Diatomic Product Development was asked to help develop the custom electronics and transition the ID concept into a mature integrated hardware design that is ready for transfer to manufacturing.
Contributions
- Hardware architecture definition
- Mechanical design and system integration
- Electronics design and integration
- Design for manufacturability and cost engineering
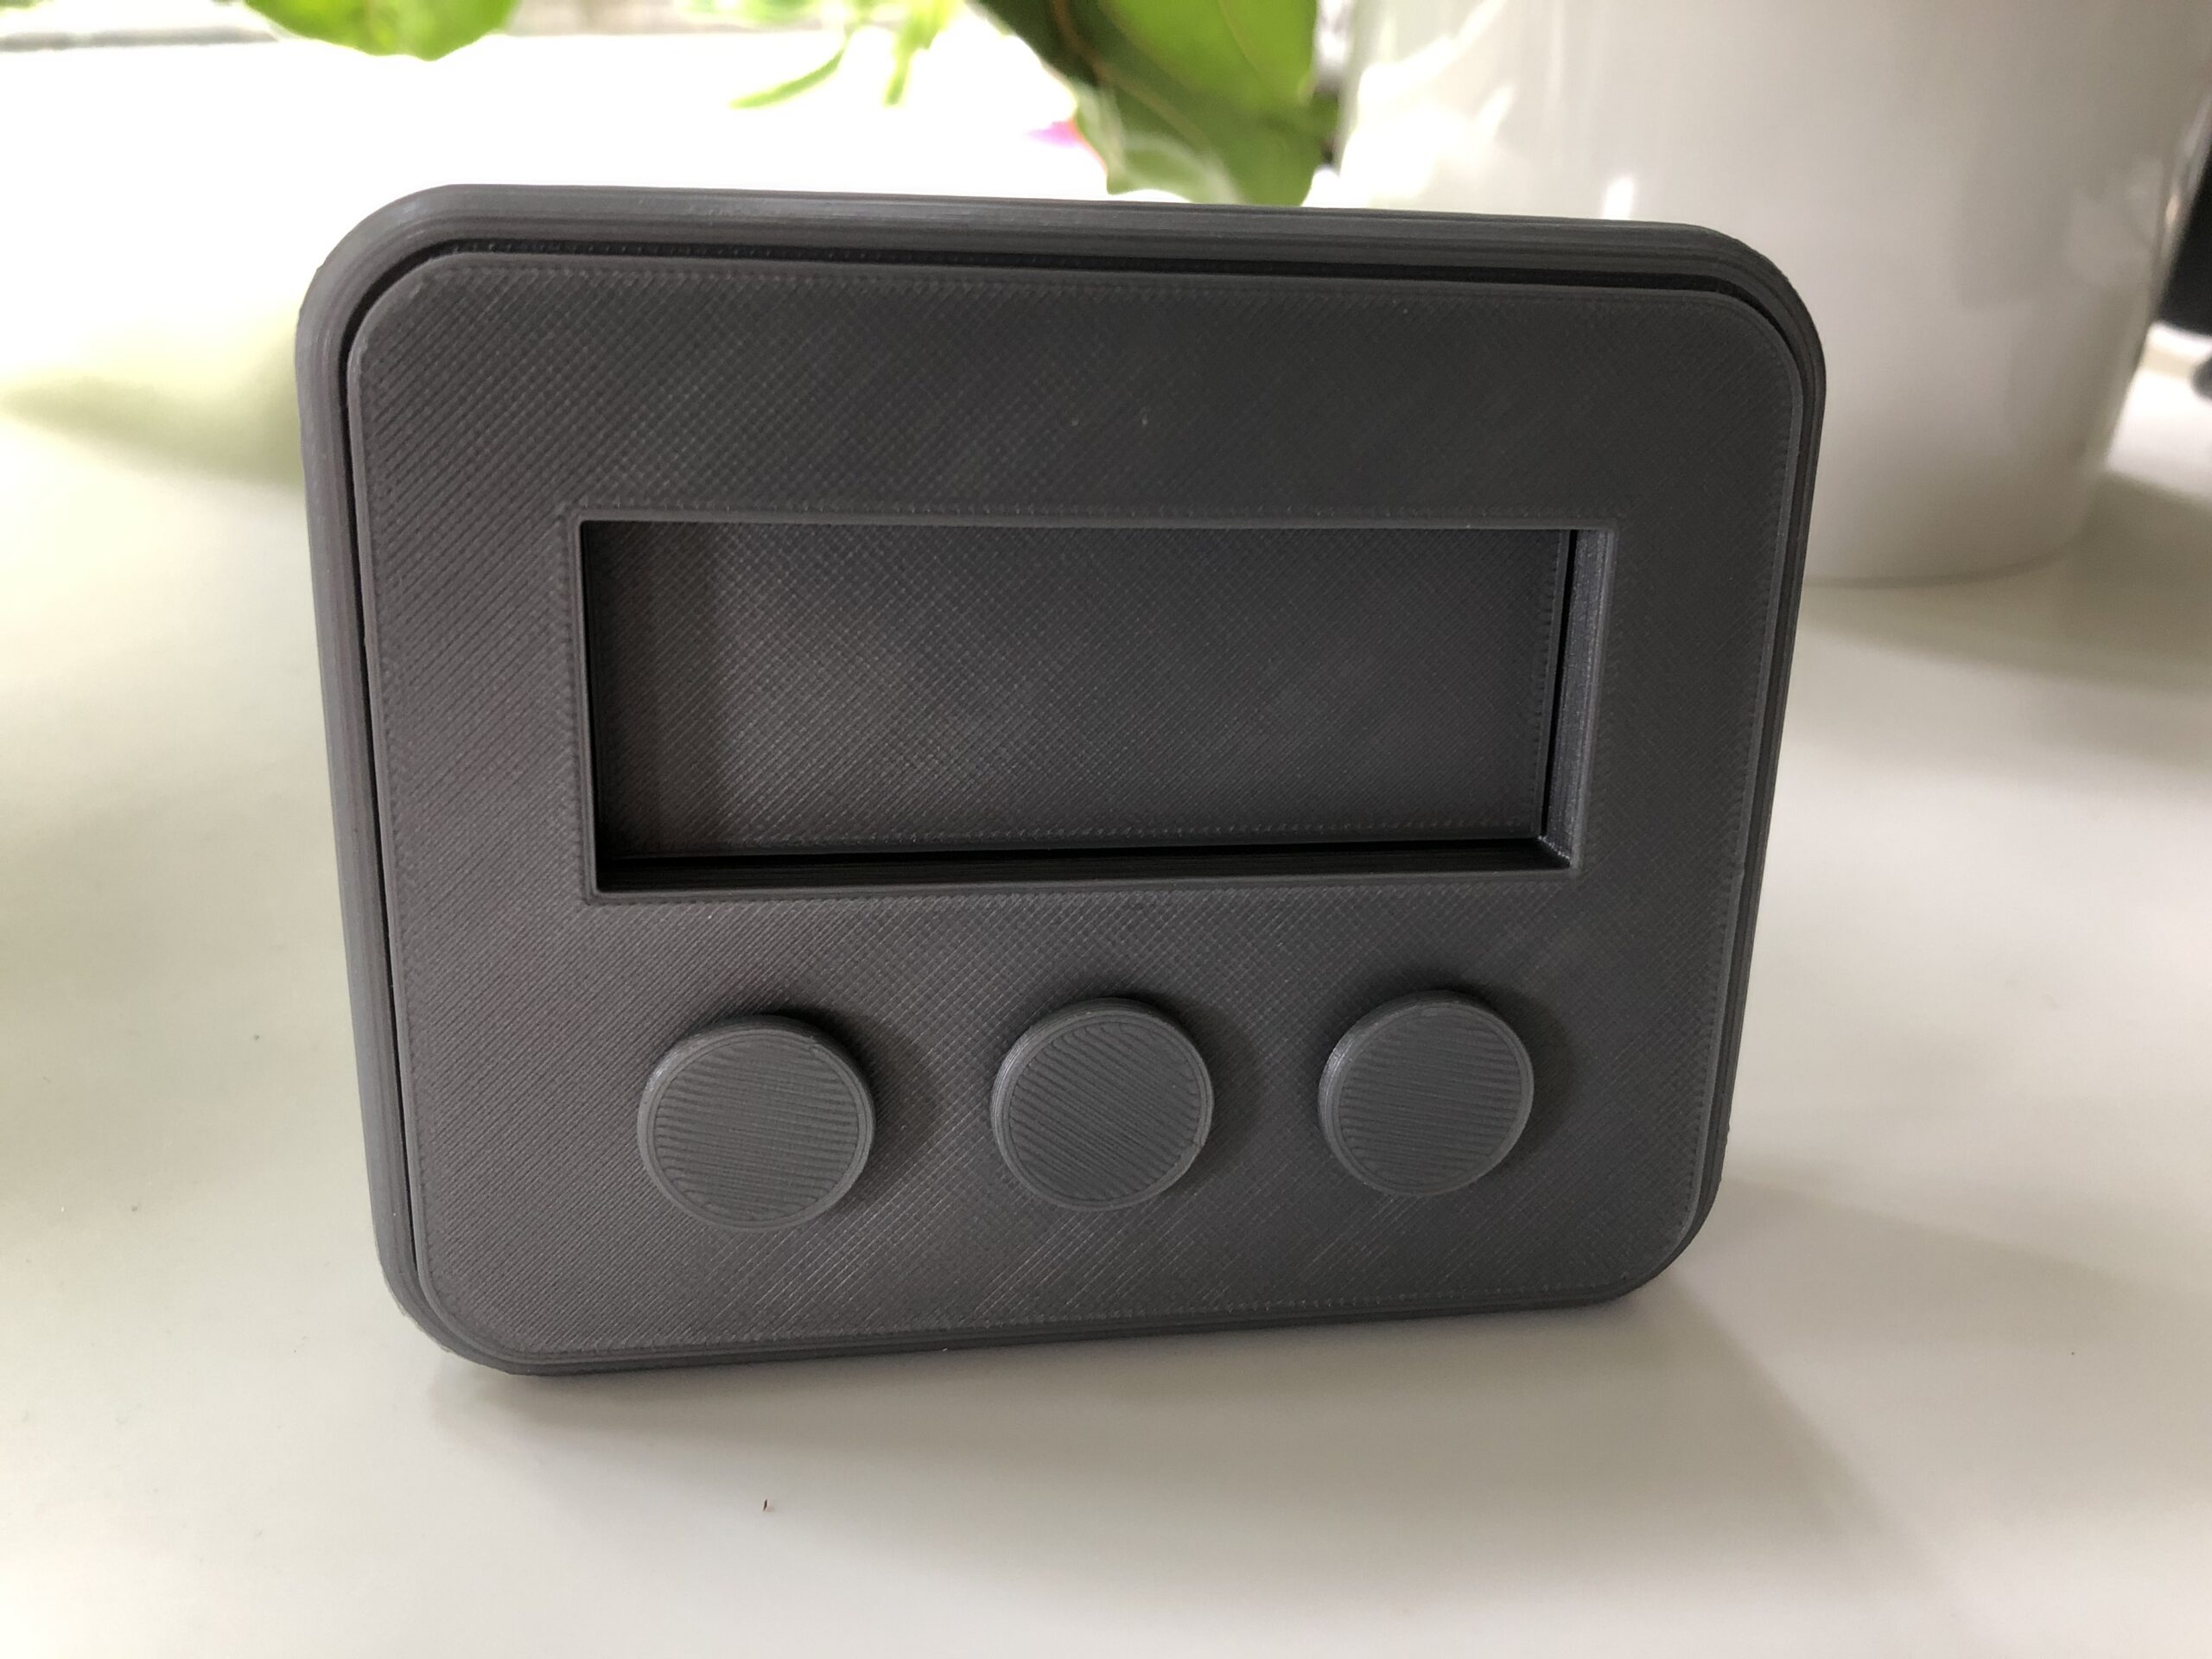
- Prototype fabrication and testing
Impact
LoopTimer evolved from a user-driven concept into a fully engineered, manufacturing-ready consumer electronics product. By combining mechanical design and packaging, custom electronics development, and iterative prototyping, the project successfully transformed a functional concept into a manufacturable product design.
TAGS
TOOLS
SolidWorks
Fusion360


Engineering Challenge
The system required:
- Clean modern aesthetic with a simple mechanical interface
- Self-standing, wall mounted with hook or magnet attach
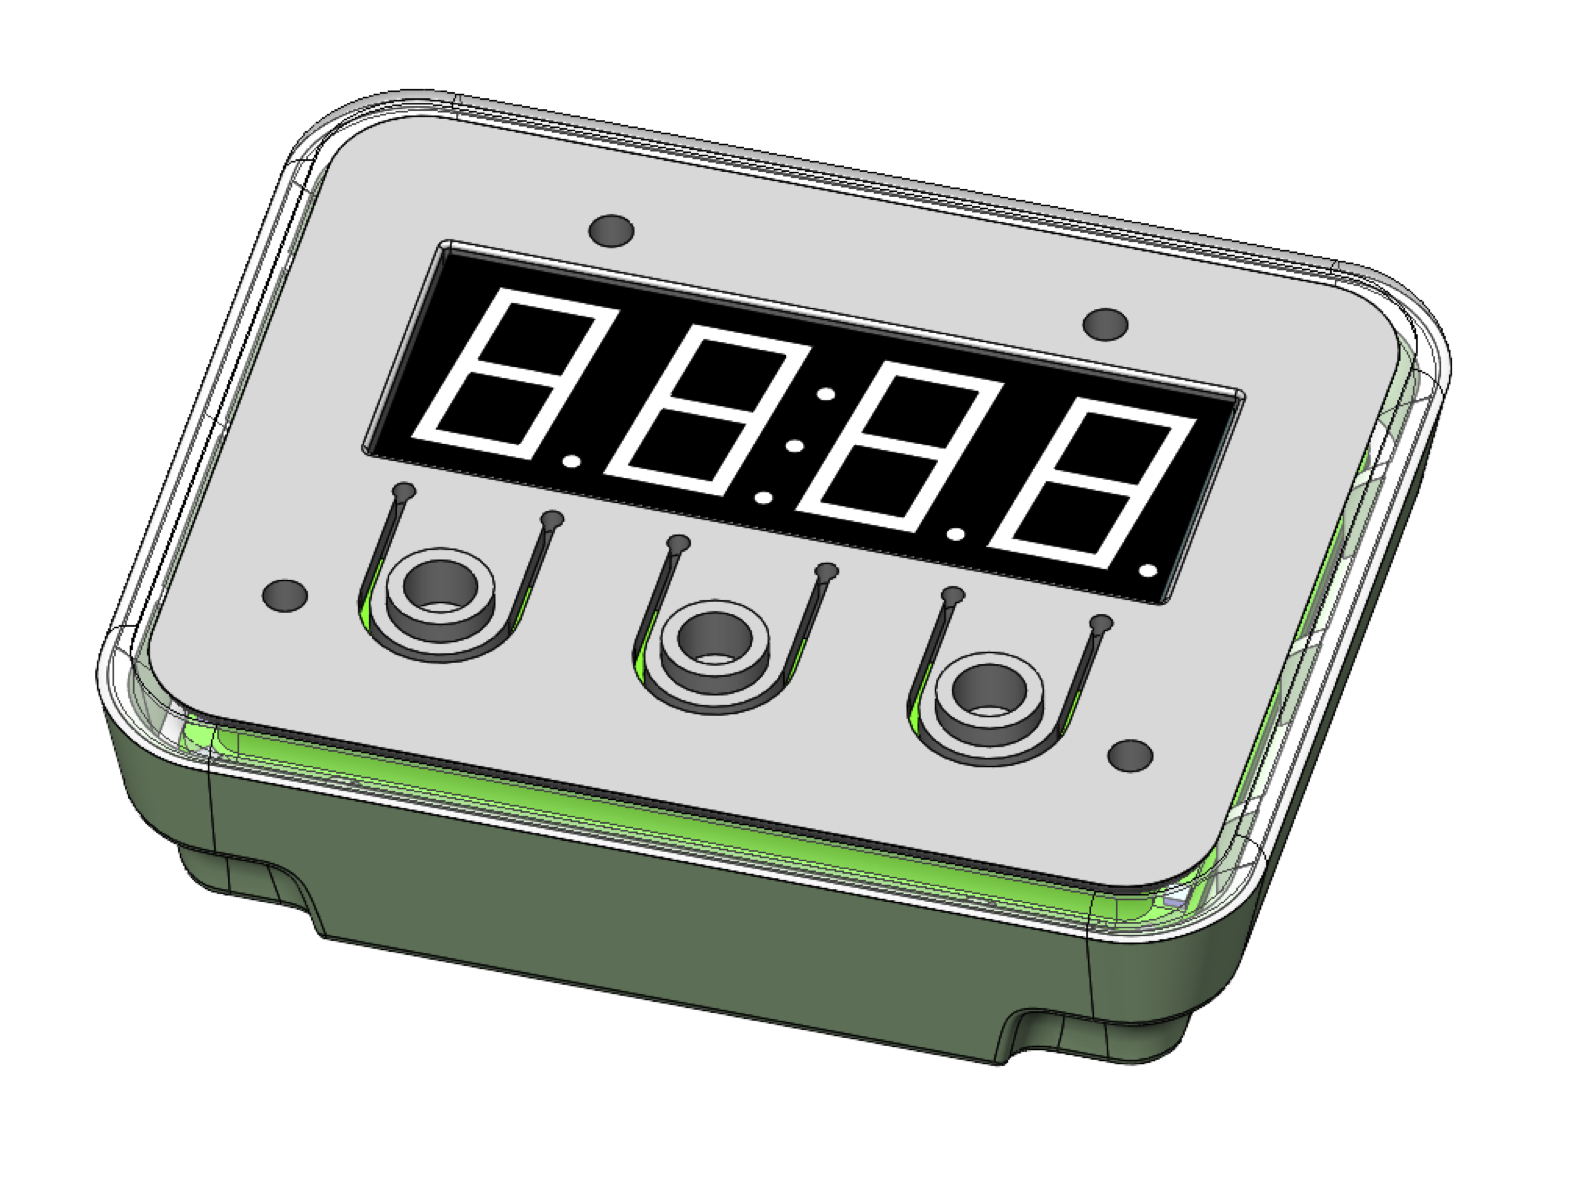
- A crisp numerical display integrated into a compact enclosure
- A high-visibility peripheral light progress indicator
- Intuitive user interface with minimal cognitive load
- Custom electronics optimized for brightness, efficiency, and cost
- Battery-powered operation with reliable power management
- Injection-molded enclosure suitable for volume manufacturing
The challenge was to balance user experience, optical performance, cost targets, and manufacturability within a compact form factor.
Engineering Approach
1. Architecture Definition
We began by formalizing system architecture across mechanical and electrical domains:
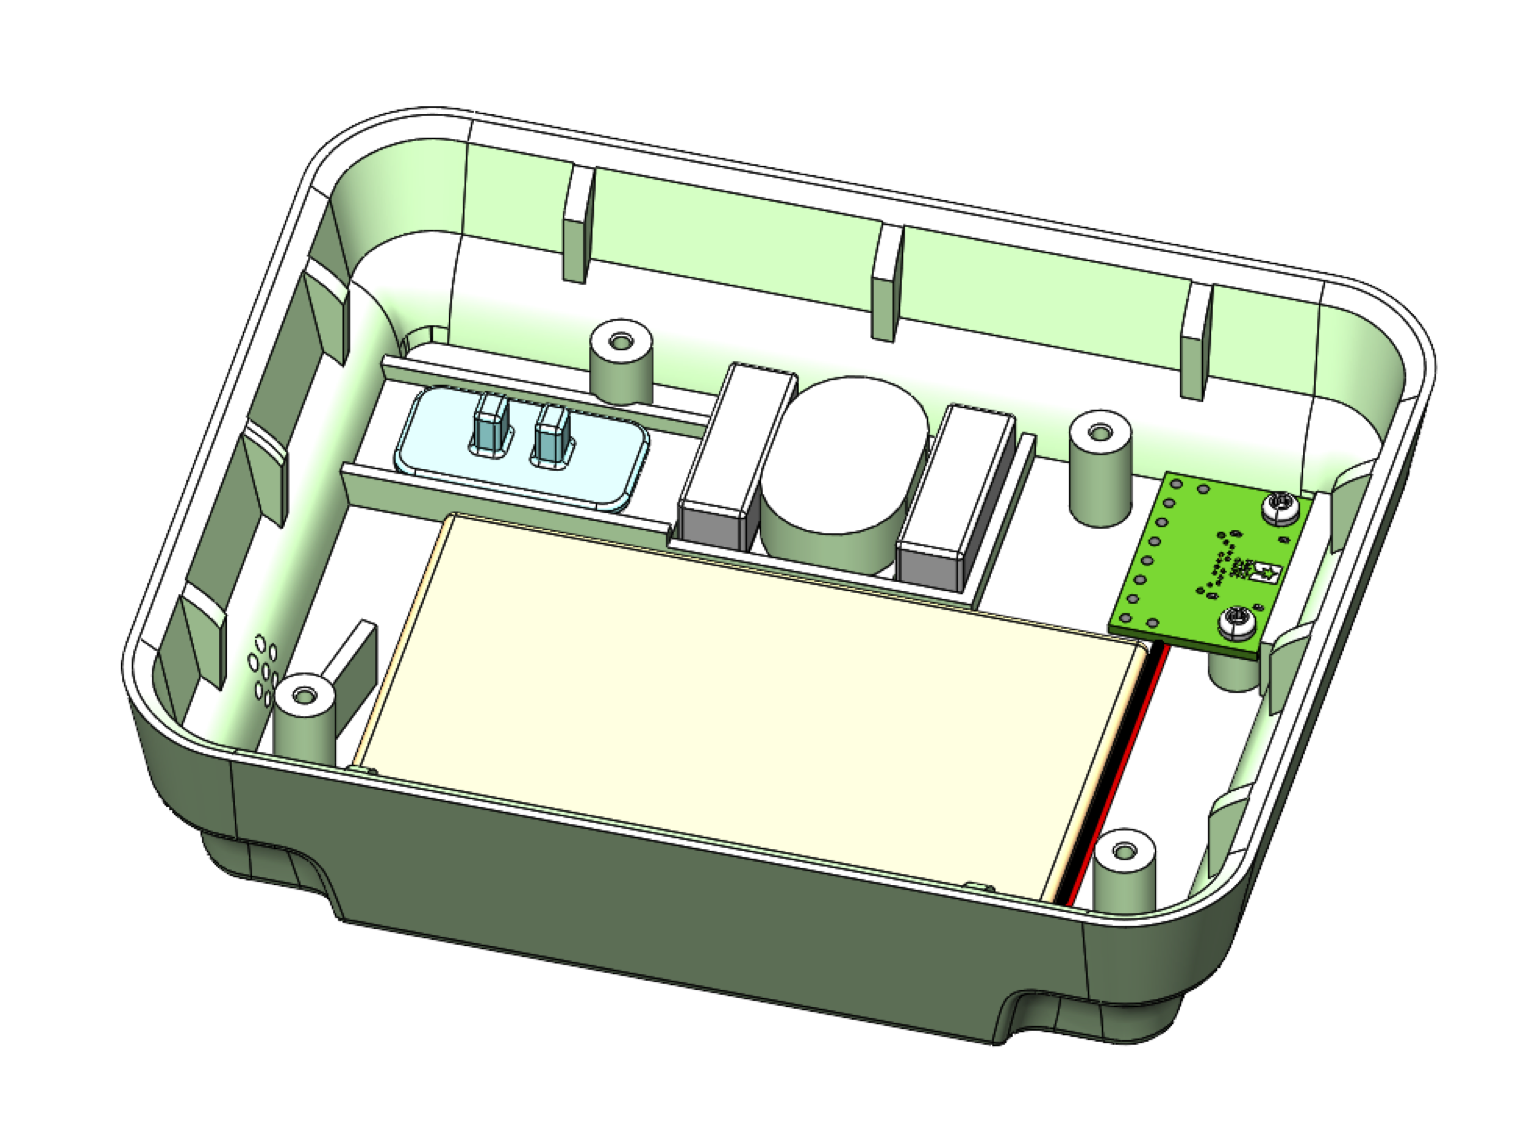
- Defined overall system layout and component packaging strategy
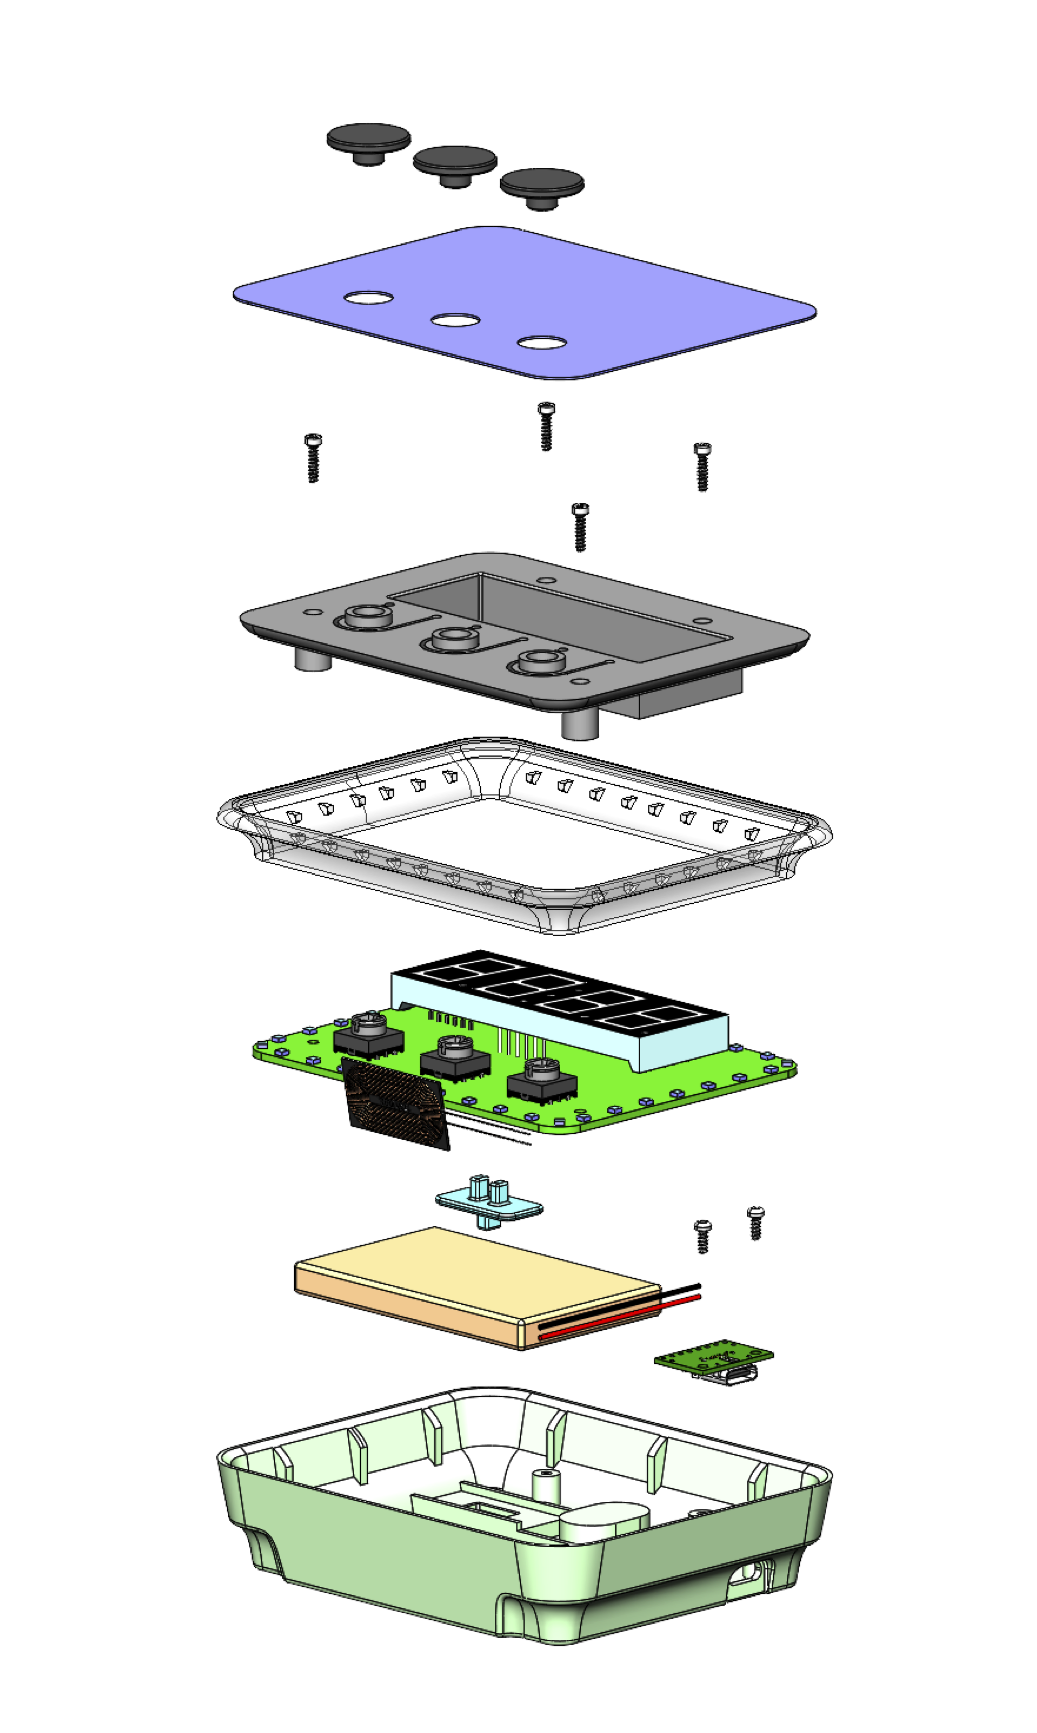
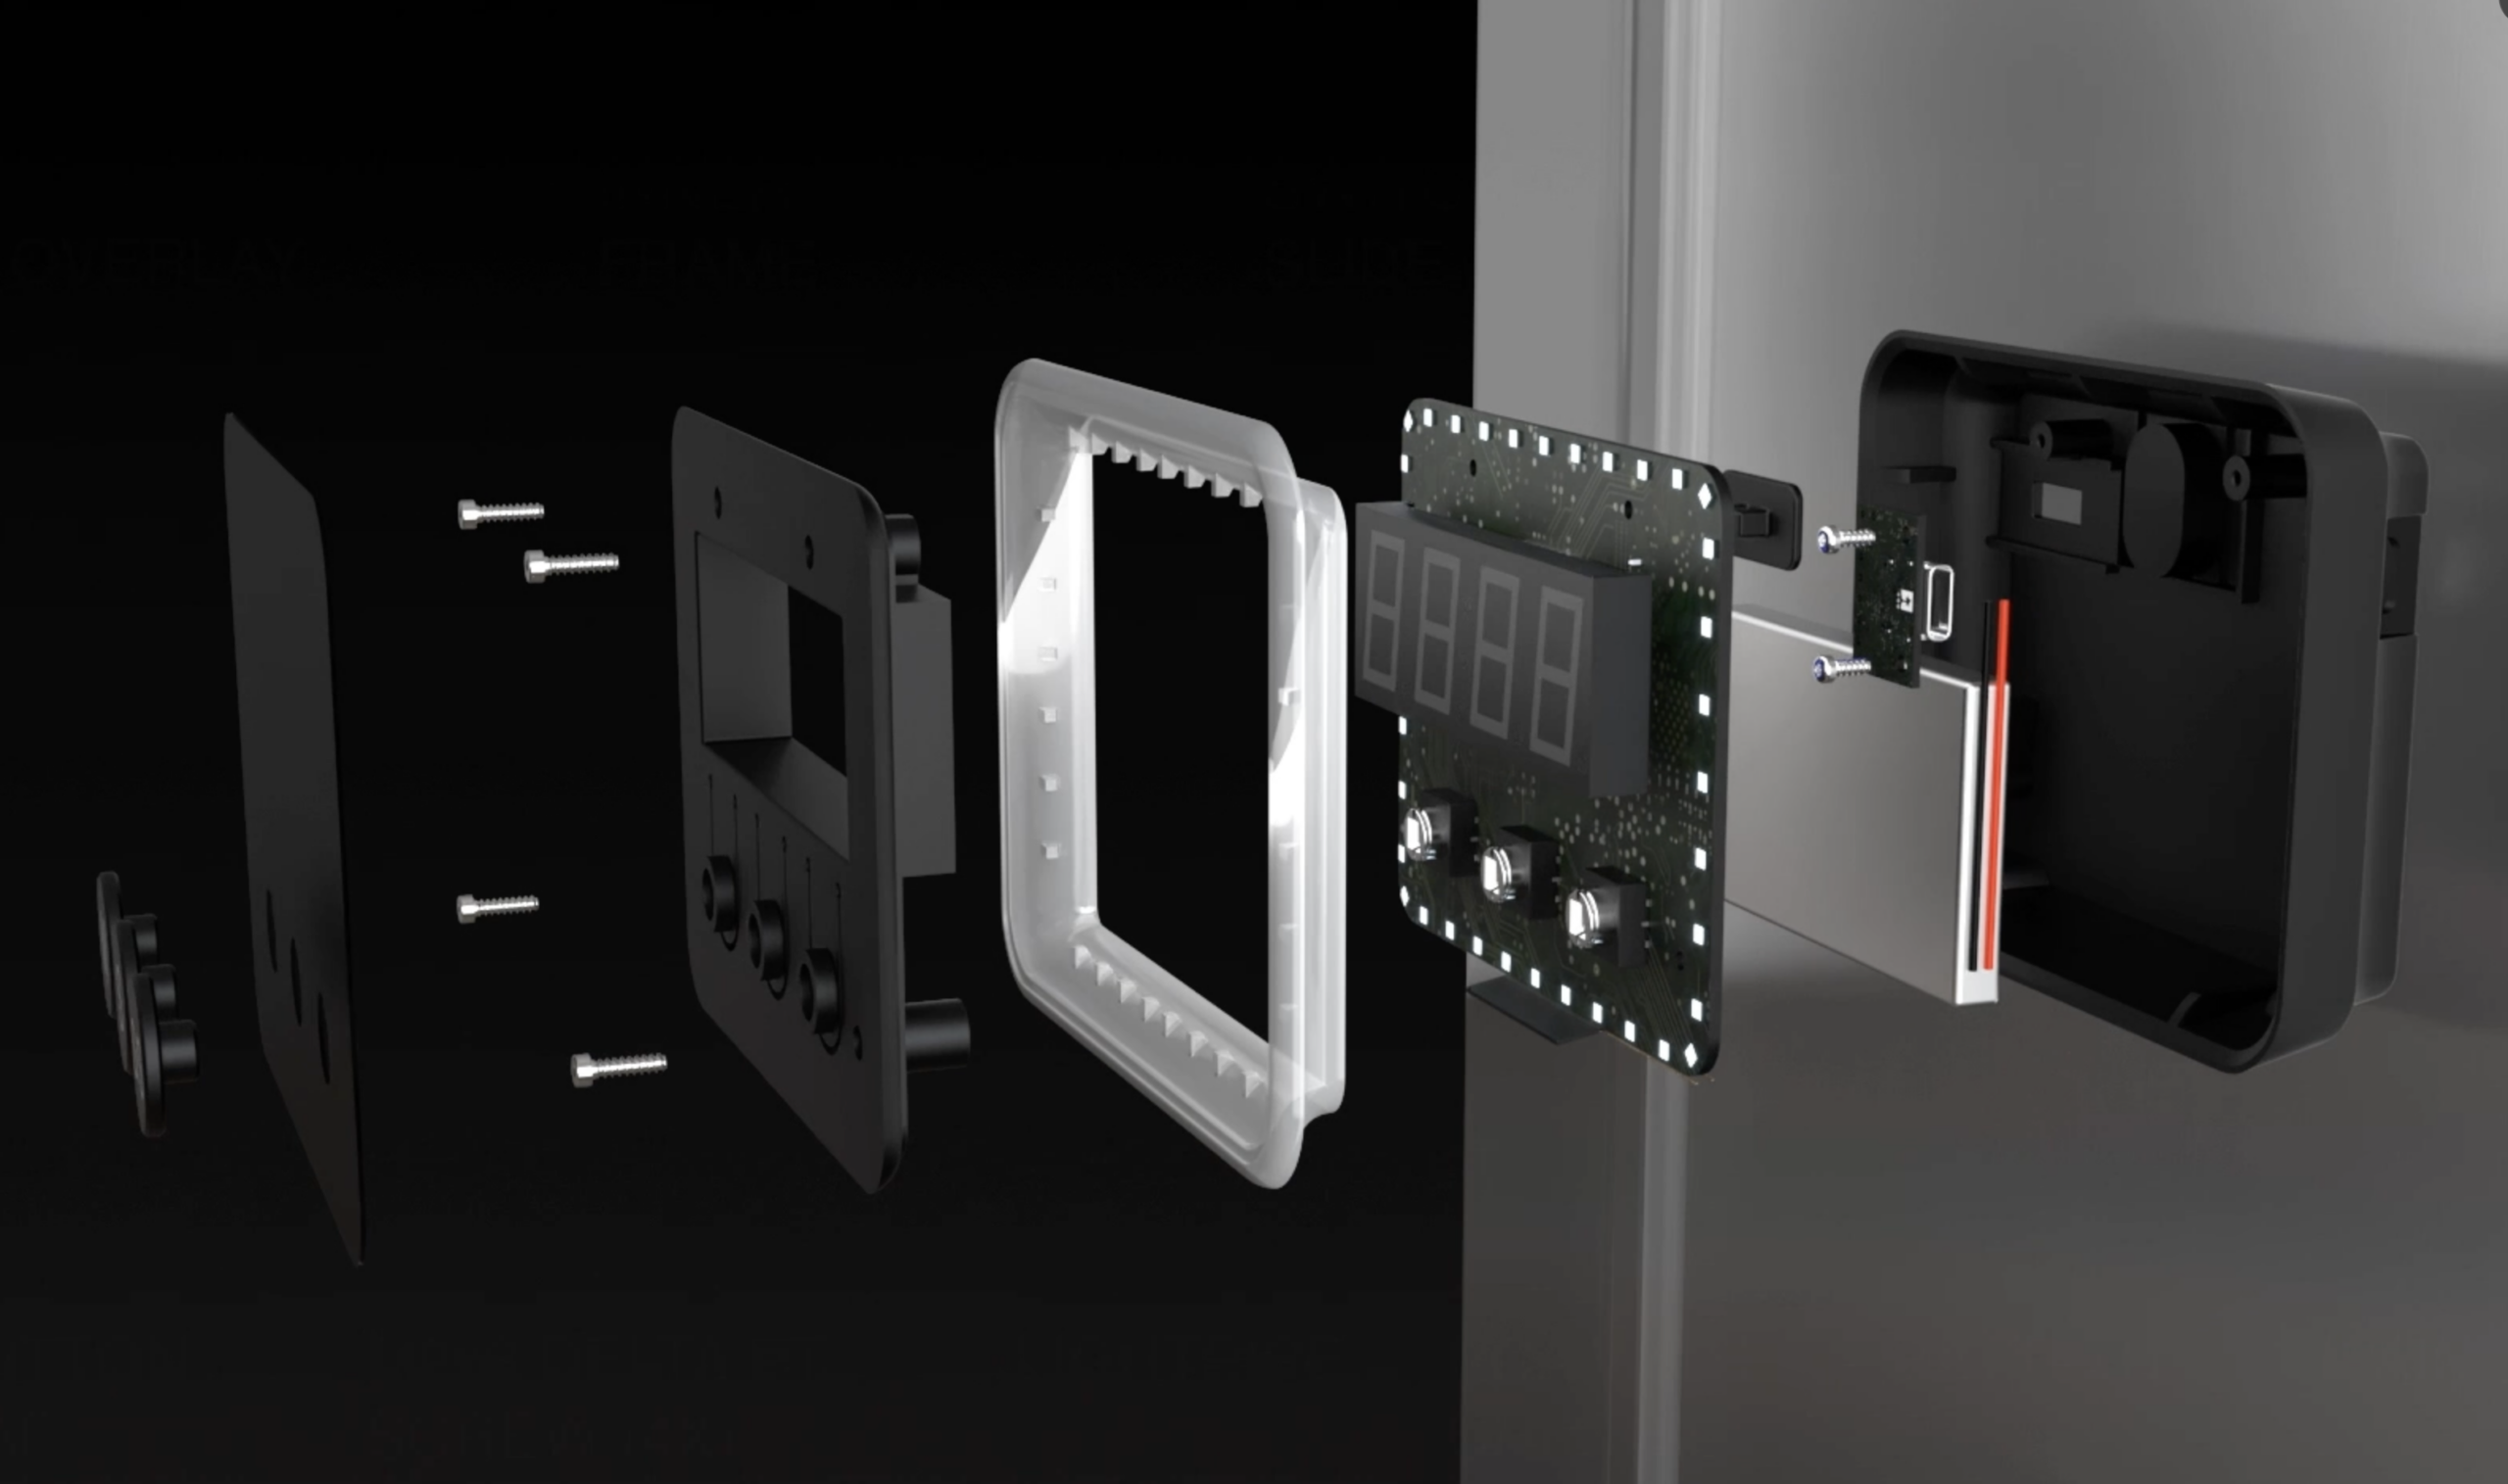
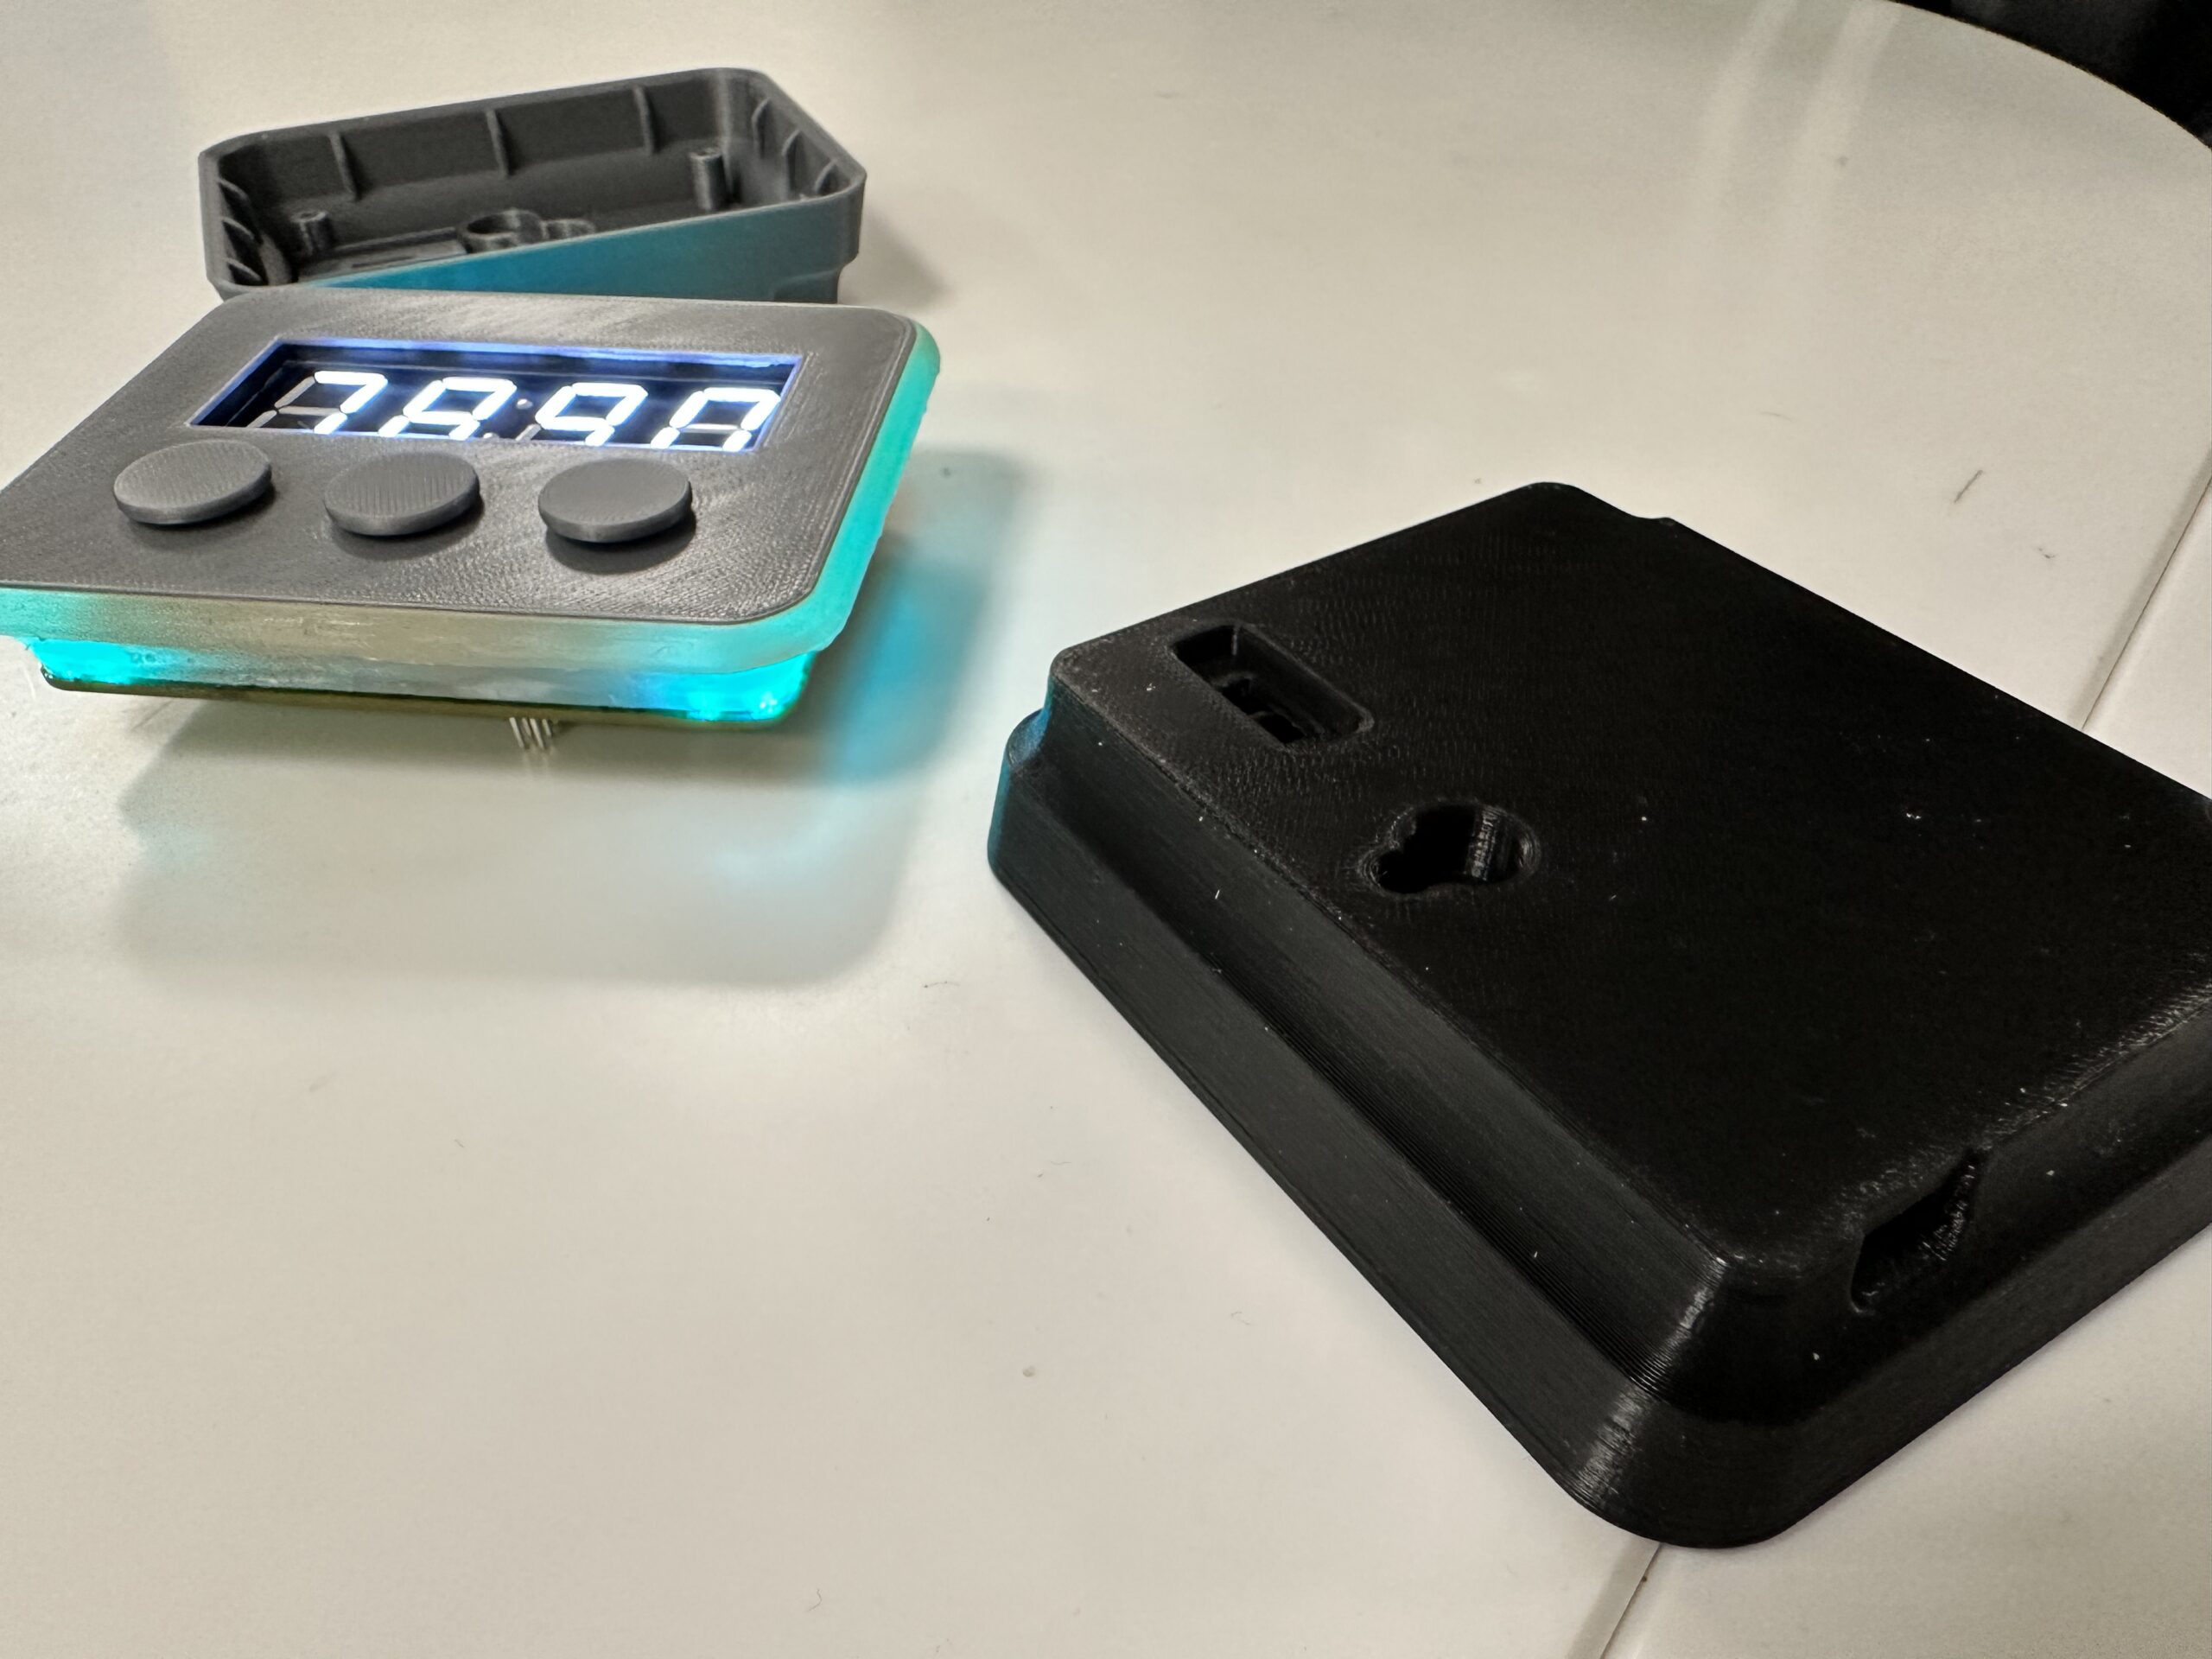
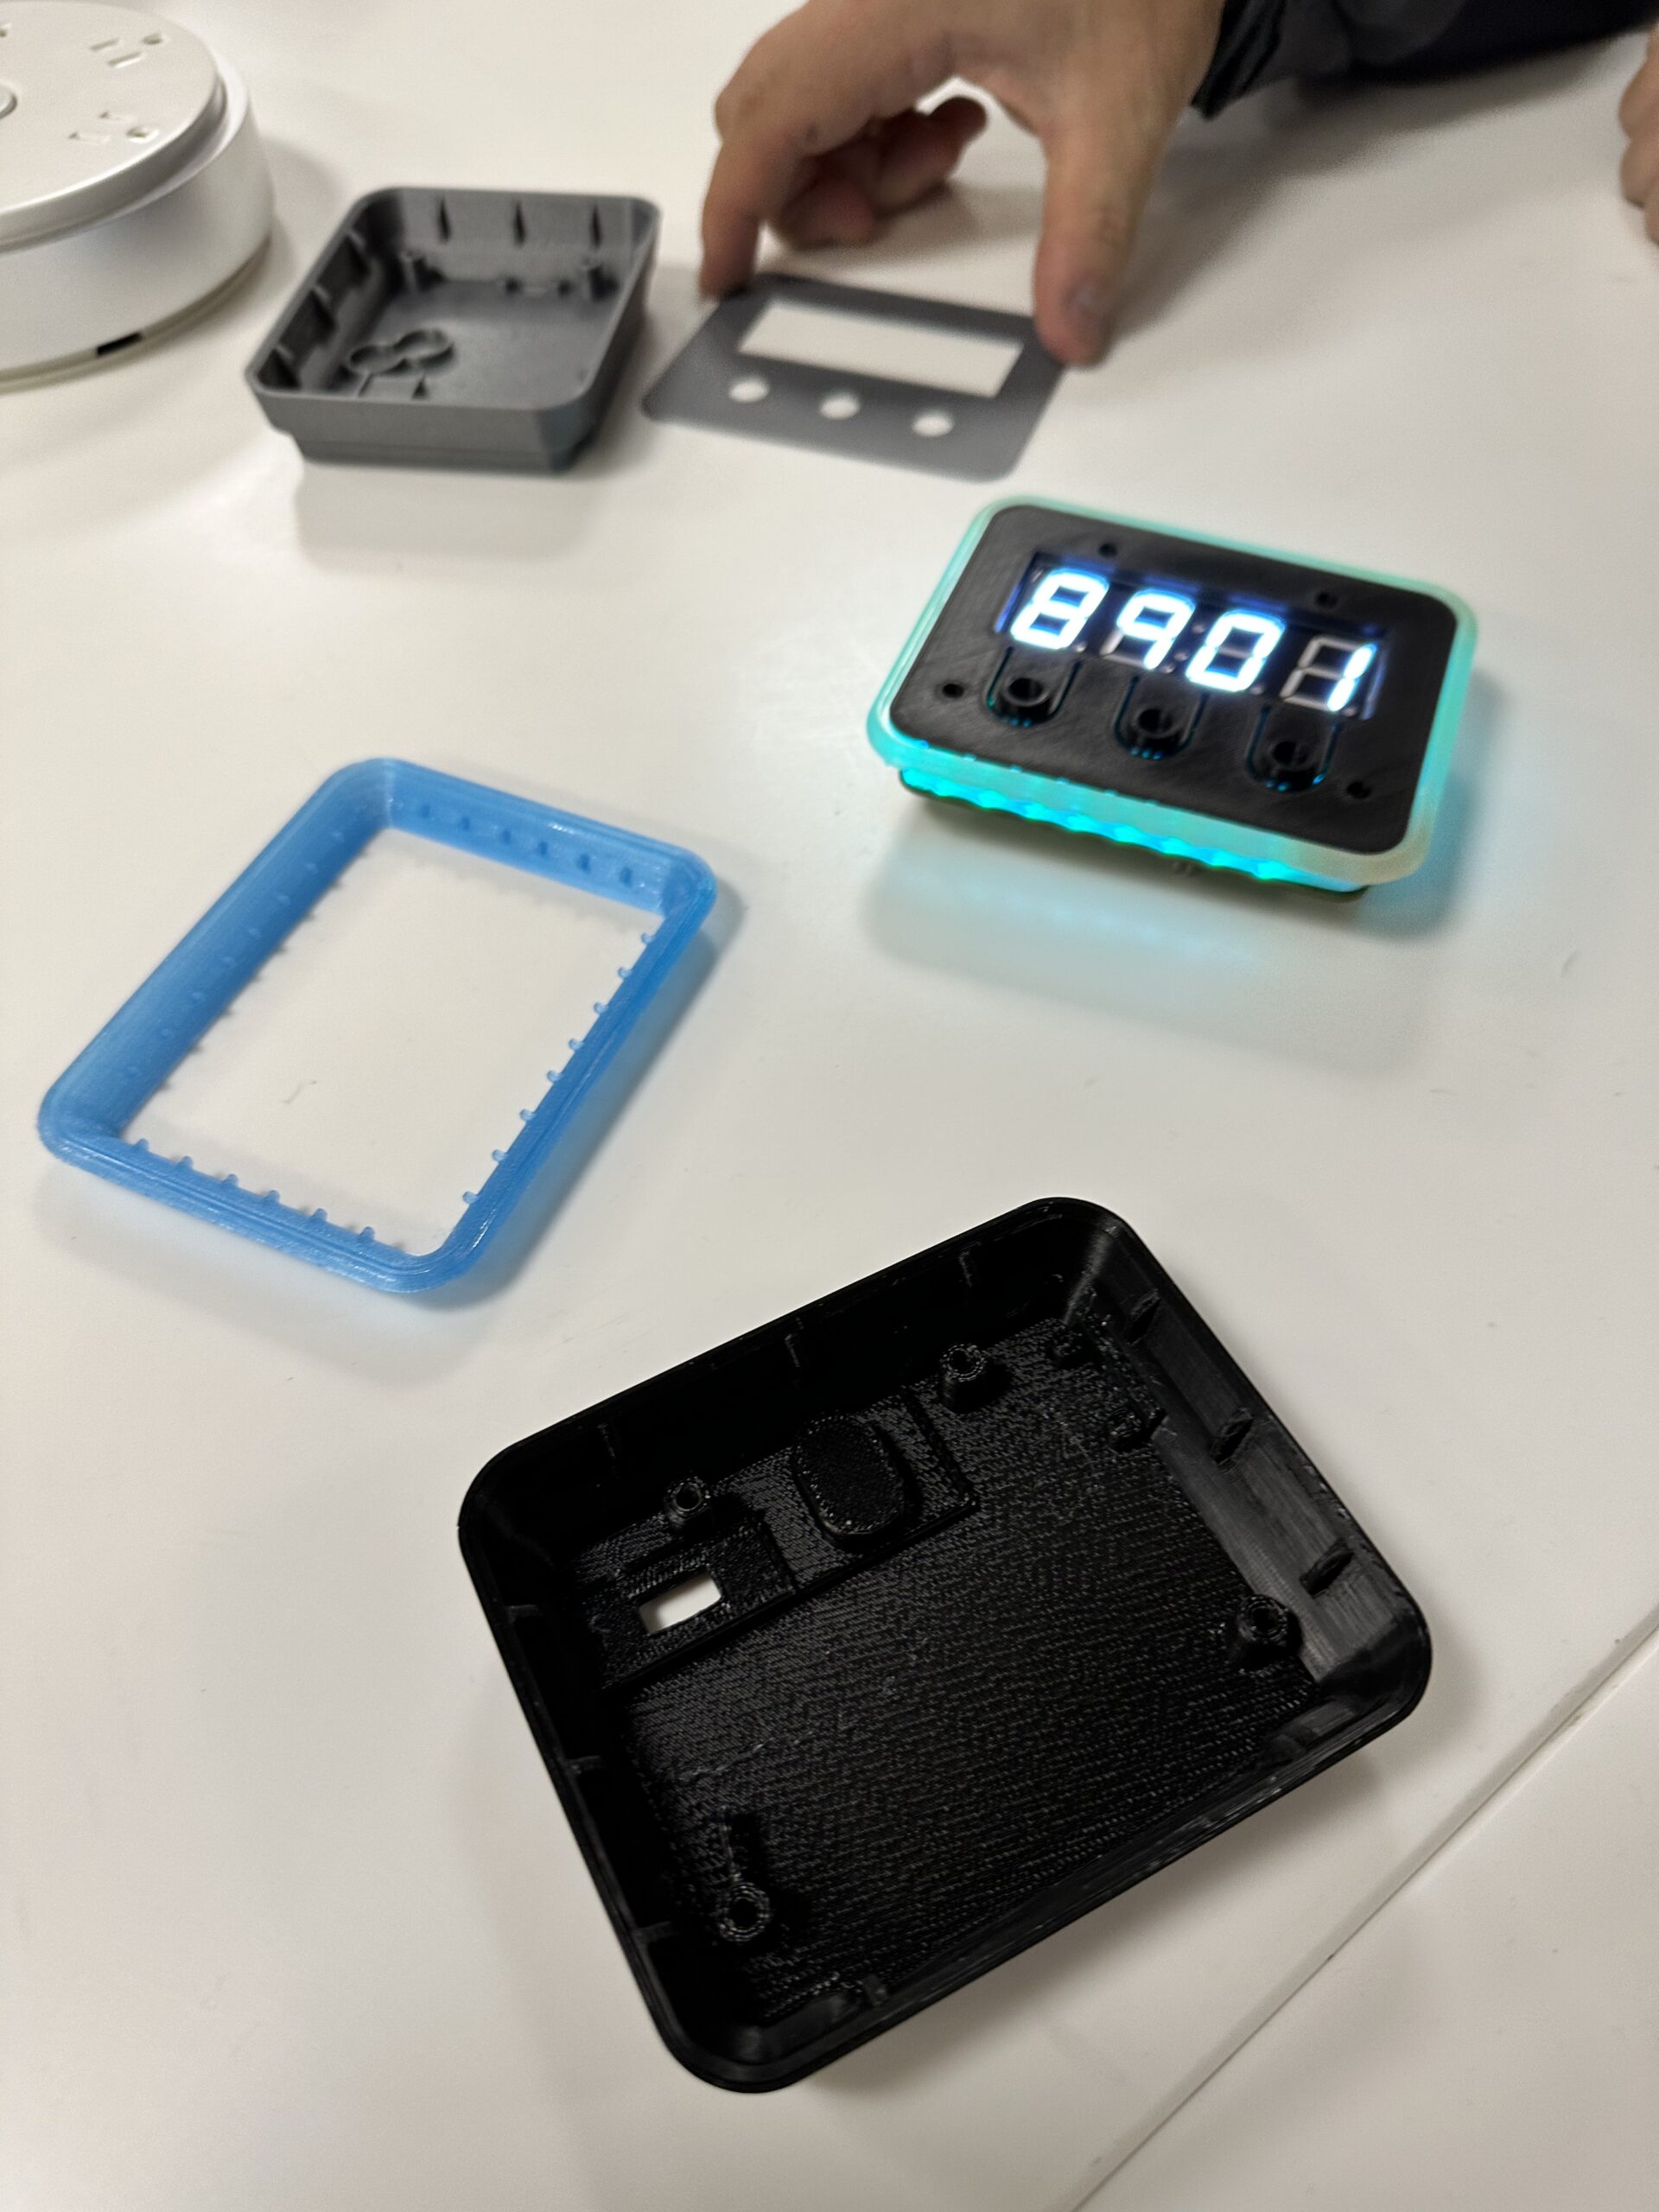
- Integrated display, PCB, battery, and peripheral light structure within a compact enclosure
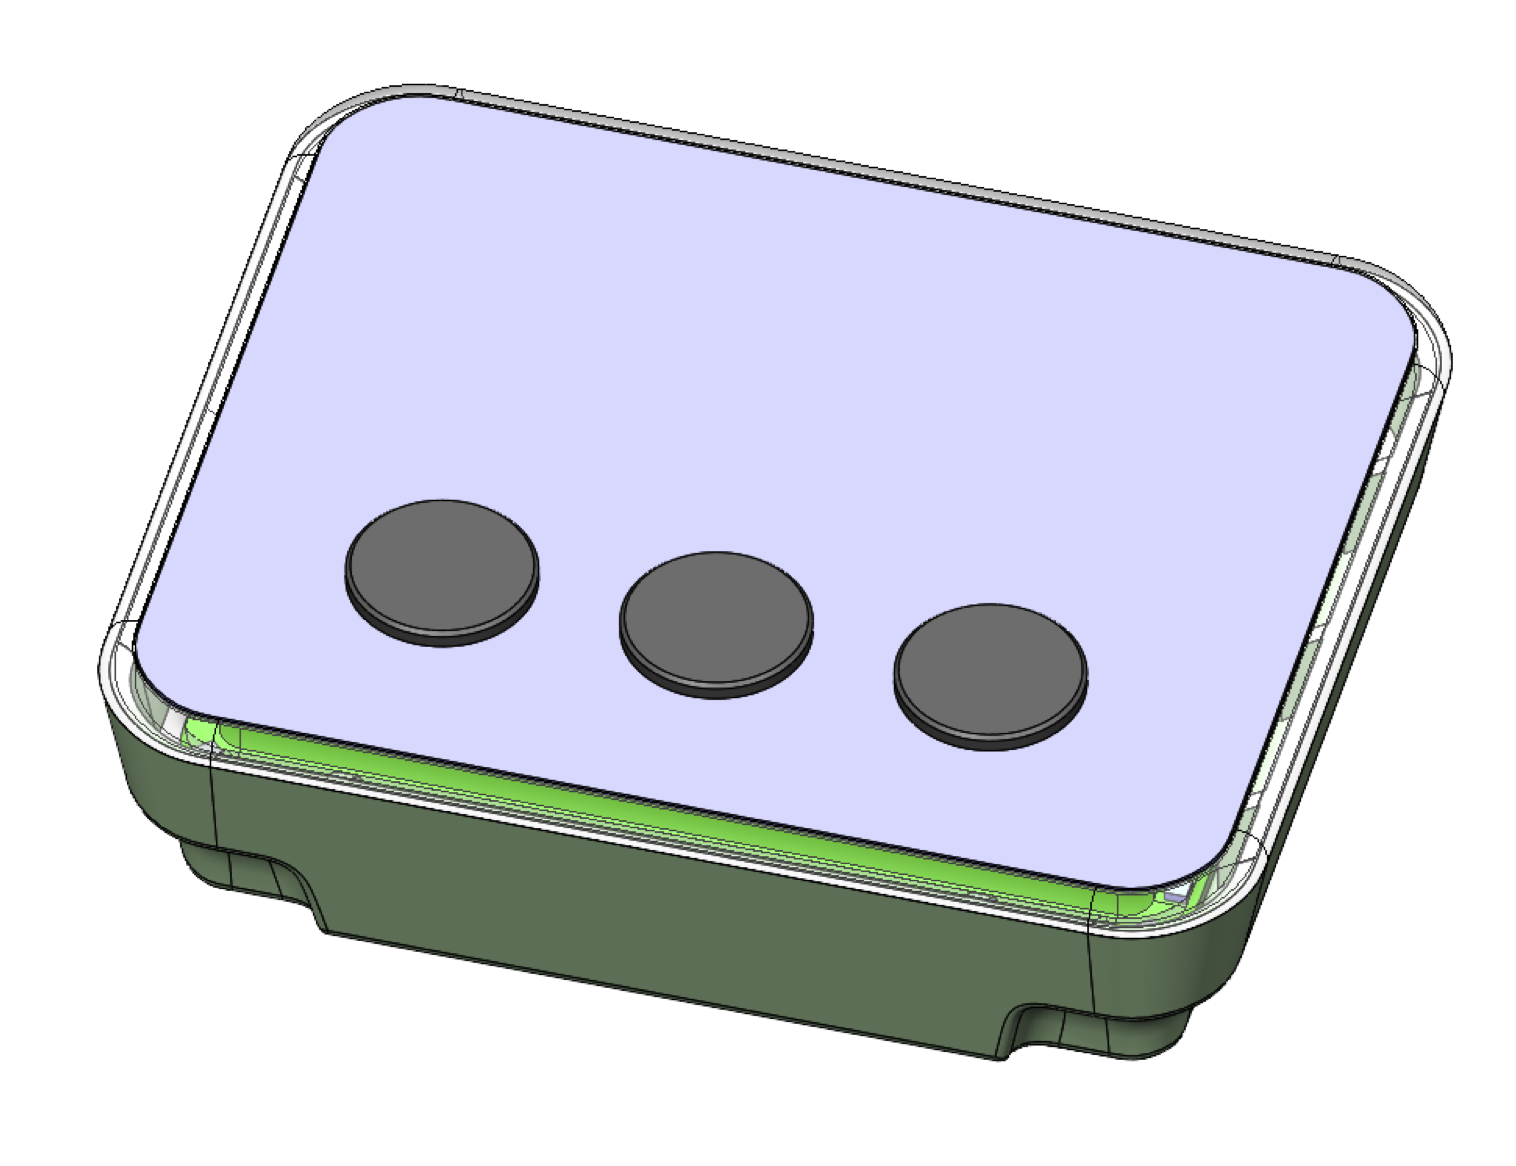
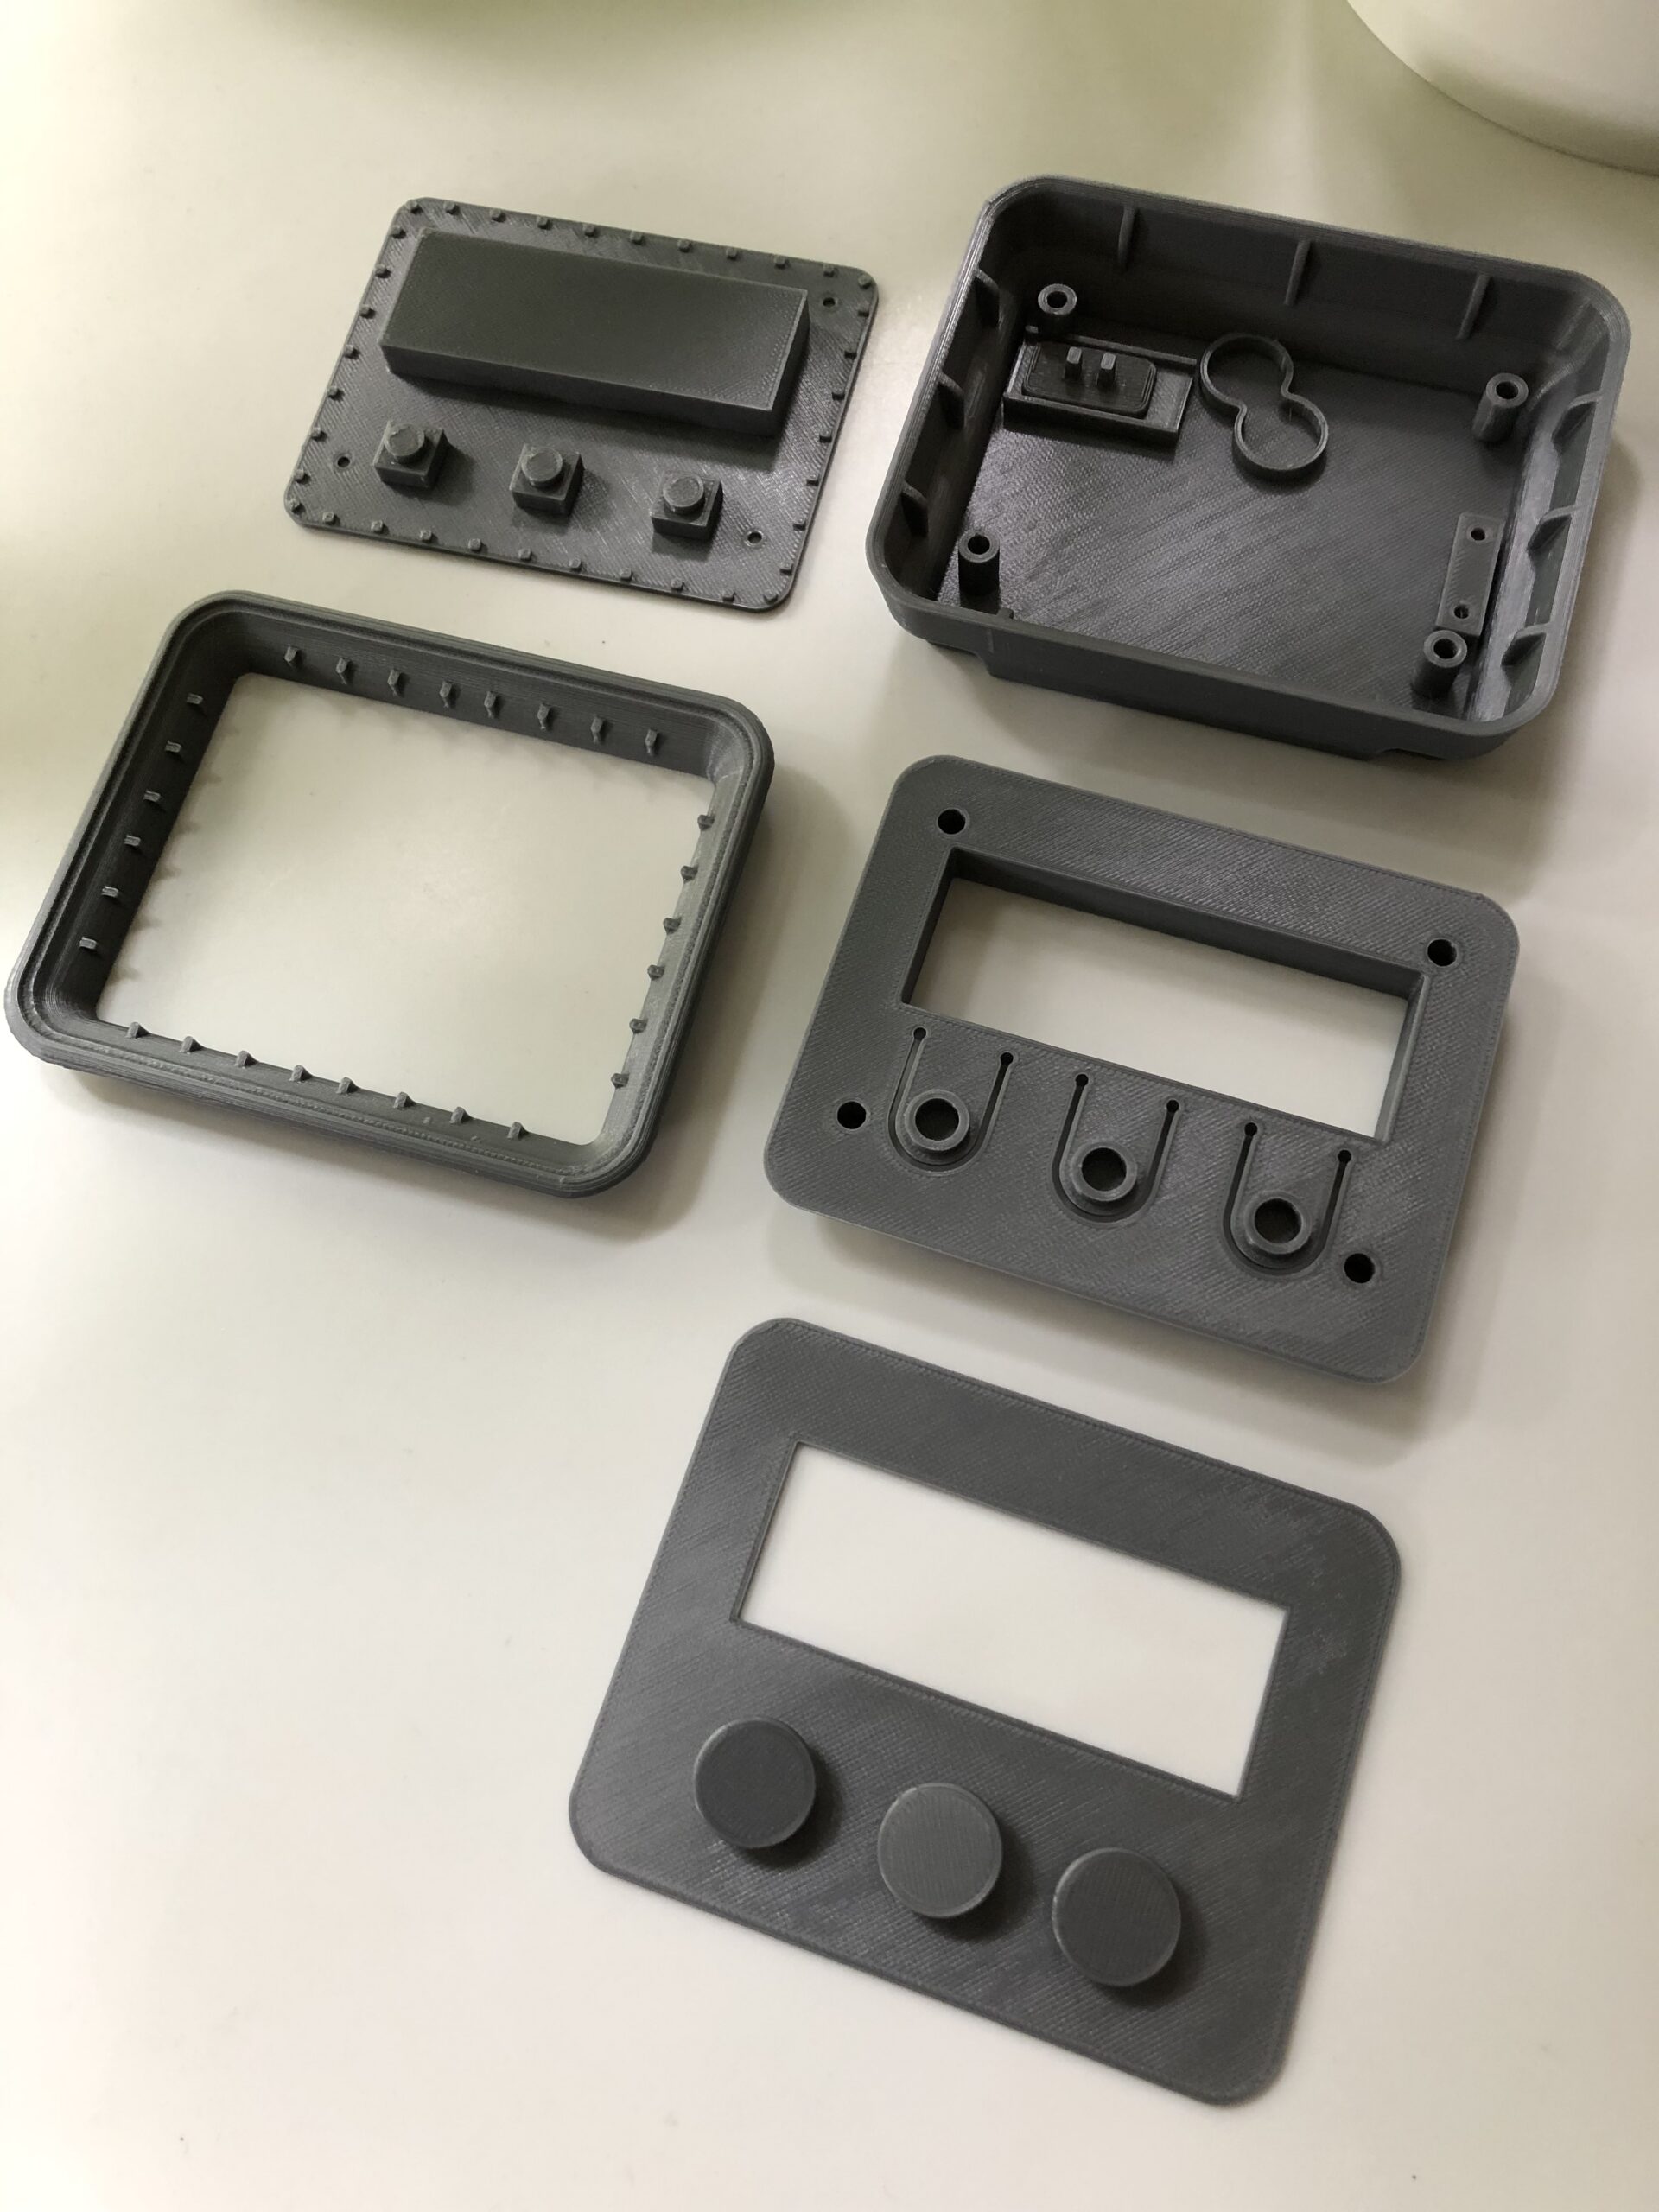
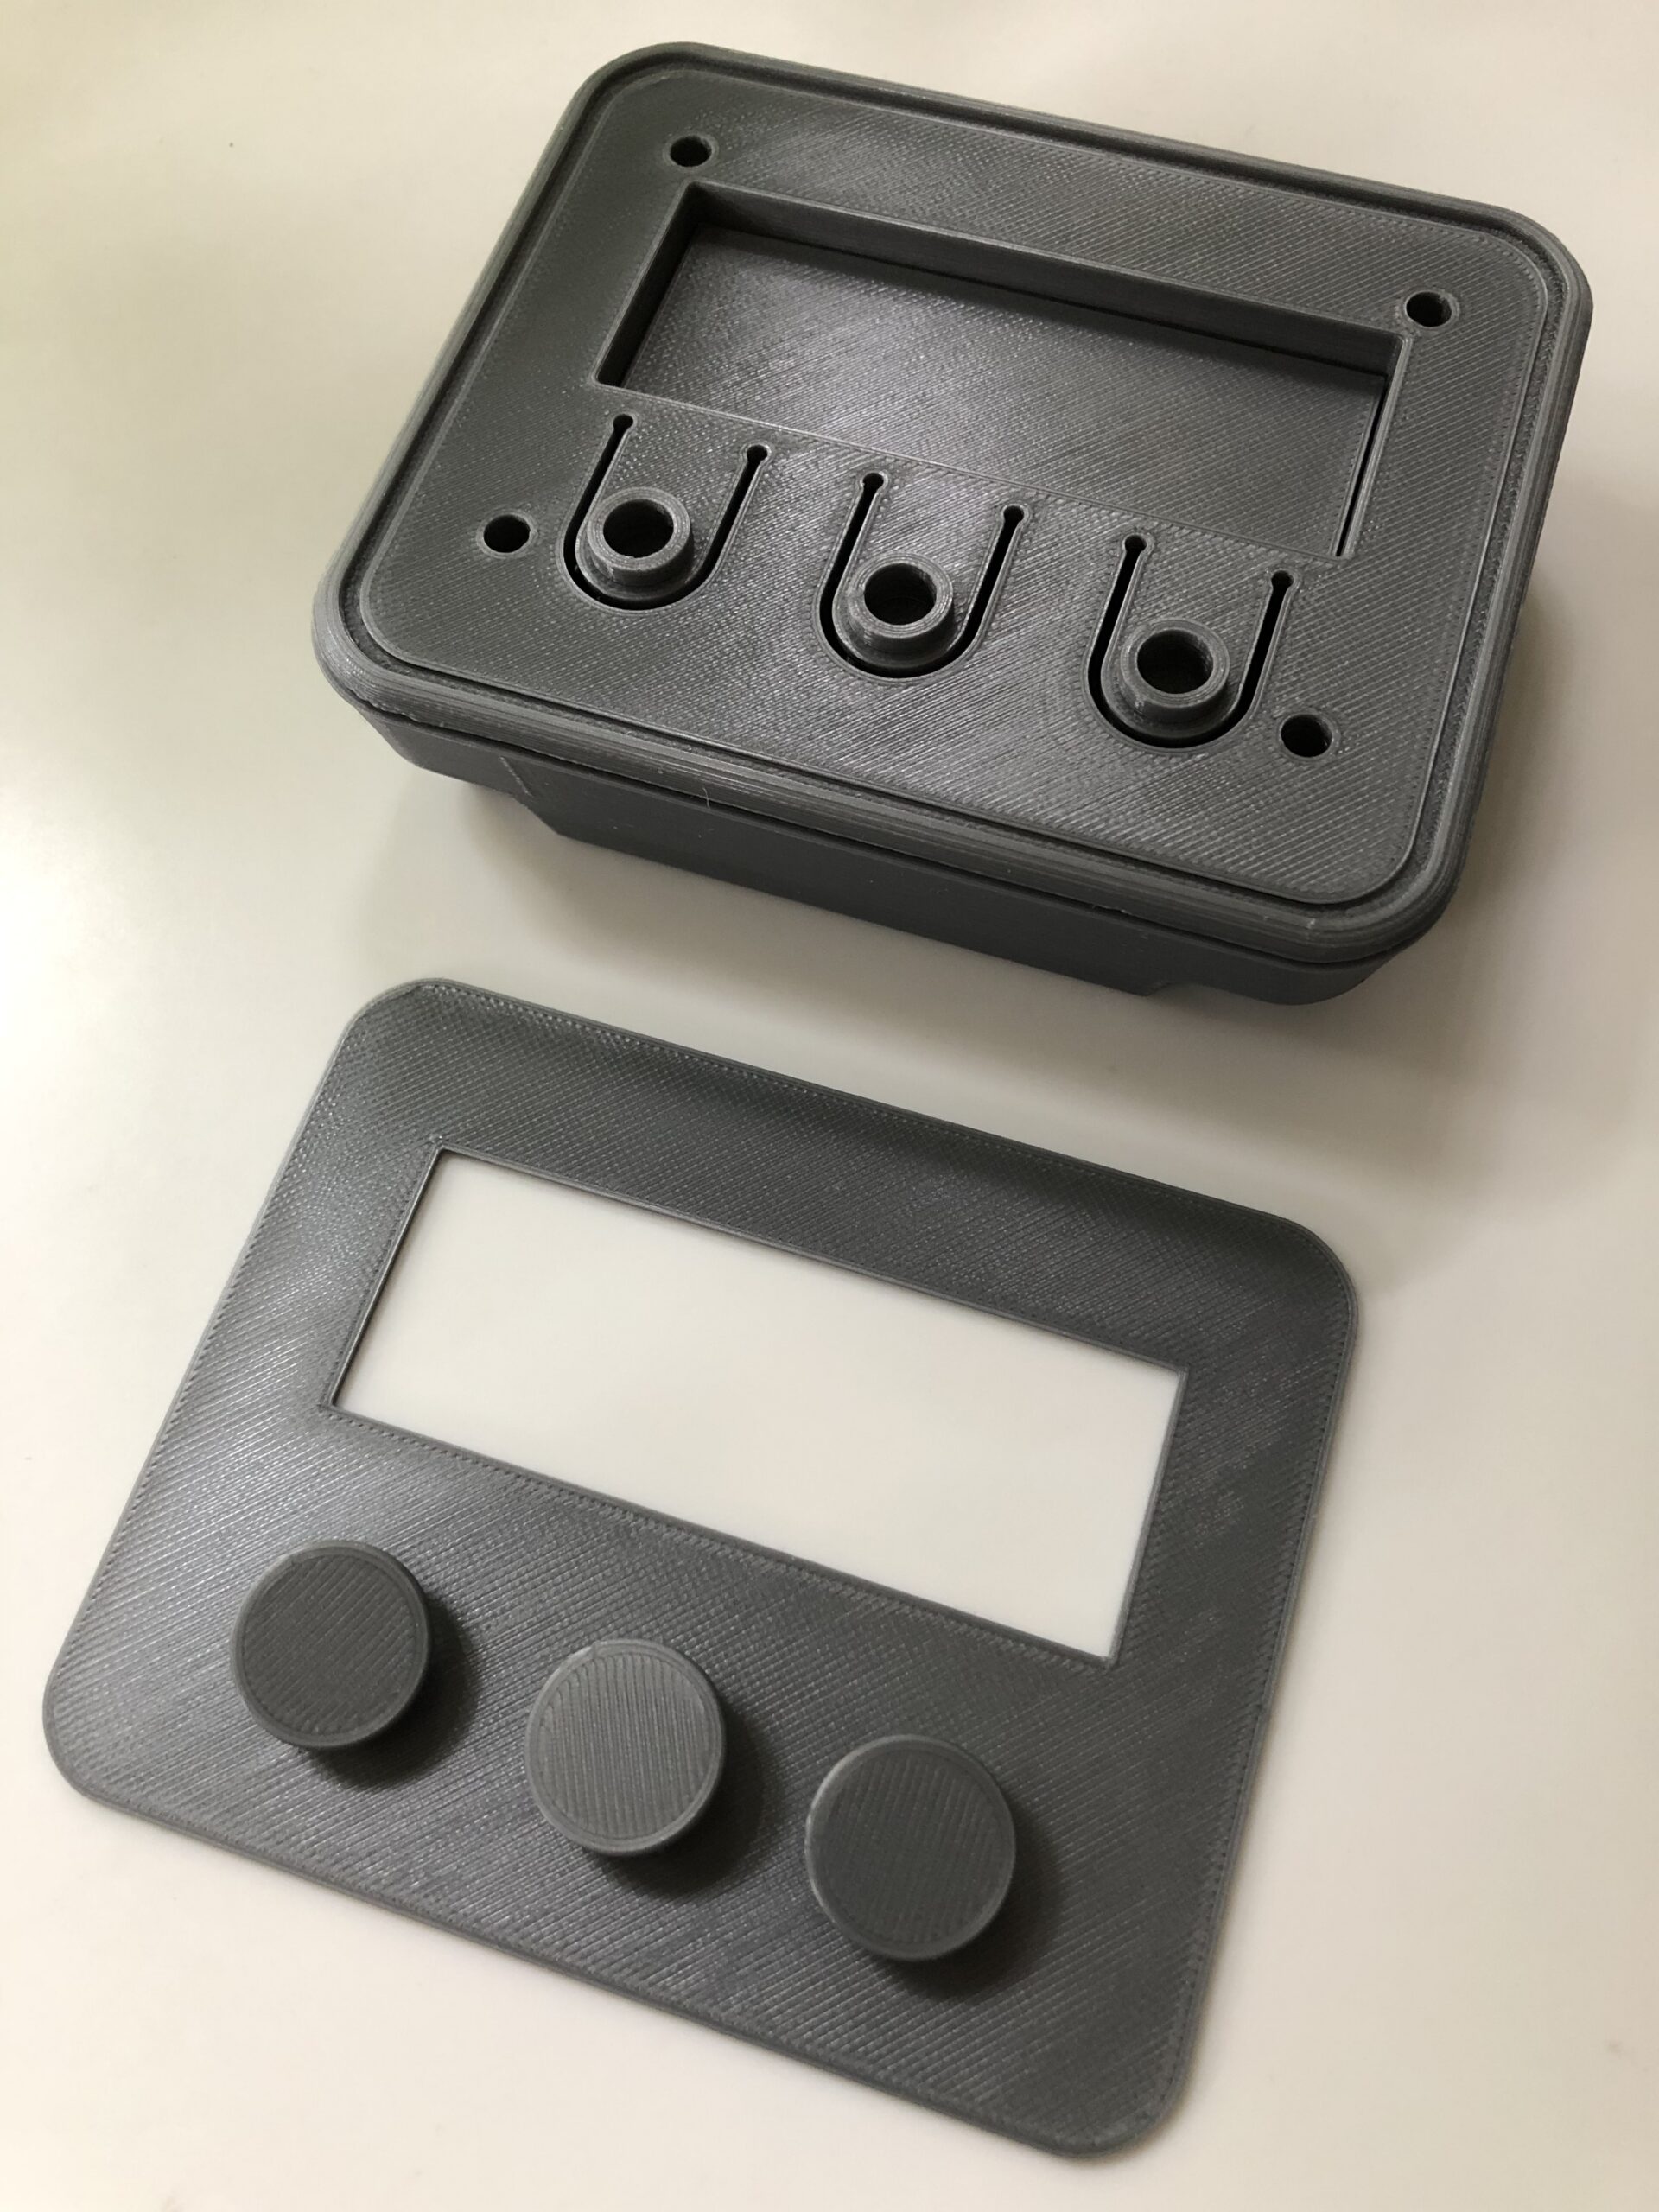
- Developed user interface geometry and button mechanisms
- Engineered enclosure architecture optimized for injection molding
A key design focus was the development of a peripheral light path capable of delivering uniform brightness while maintaining structural integrity and manufacturability.
2. Electronics Design & Optimization
Our electrical engineering team developed custom electronics to support the device’s visual and power requirements:
- Designed custom PCB schematics and layout
- Conducted power studies and battery selection analysis
- Evaluated display technologies to balance brightness, clarity, and cost
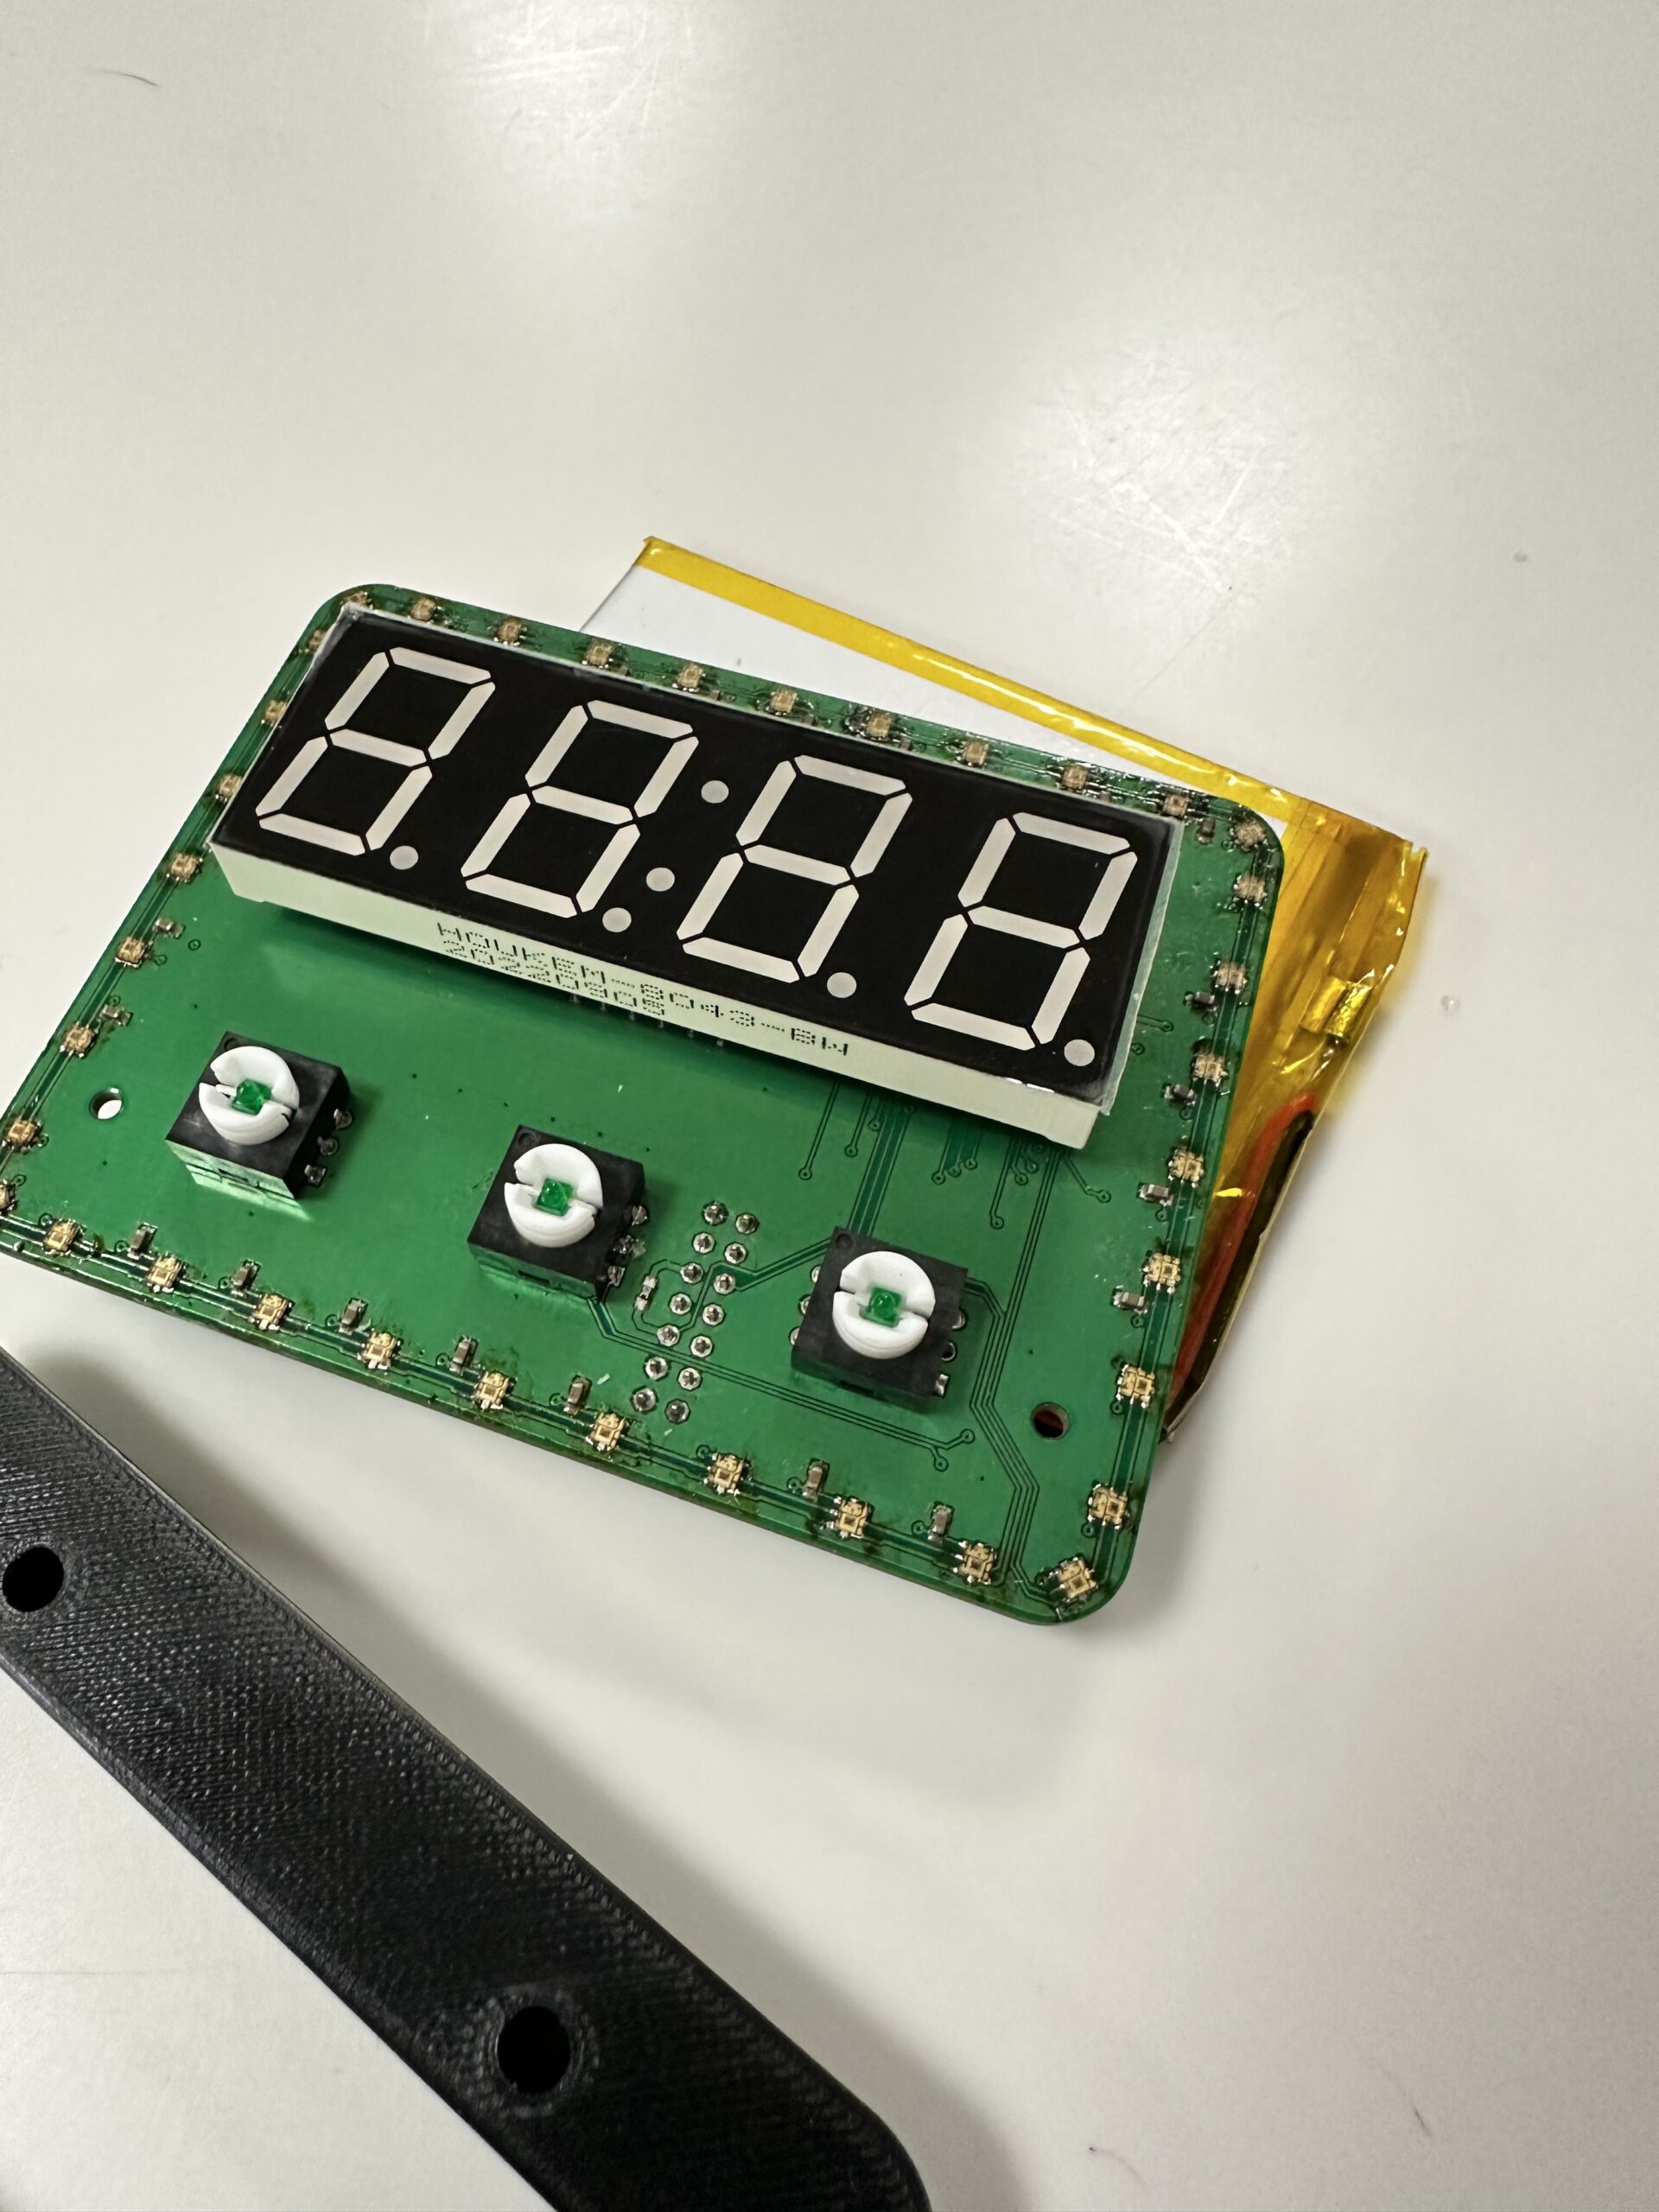
- Integrated display and LED light systems for consistent optical performance
Electronics architecture was optimized for cost reduction and volume production, while maintaining reliable operation and visual impact.
3. Prototyping & Iterative Refinement
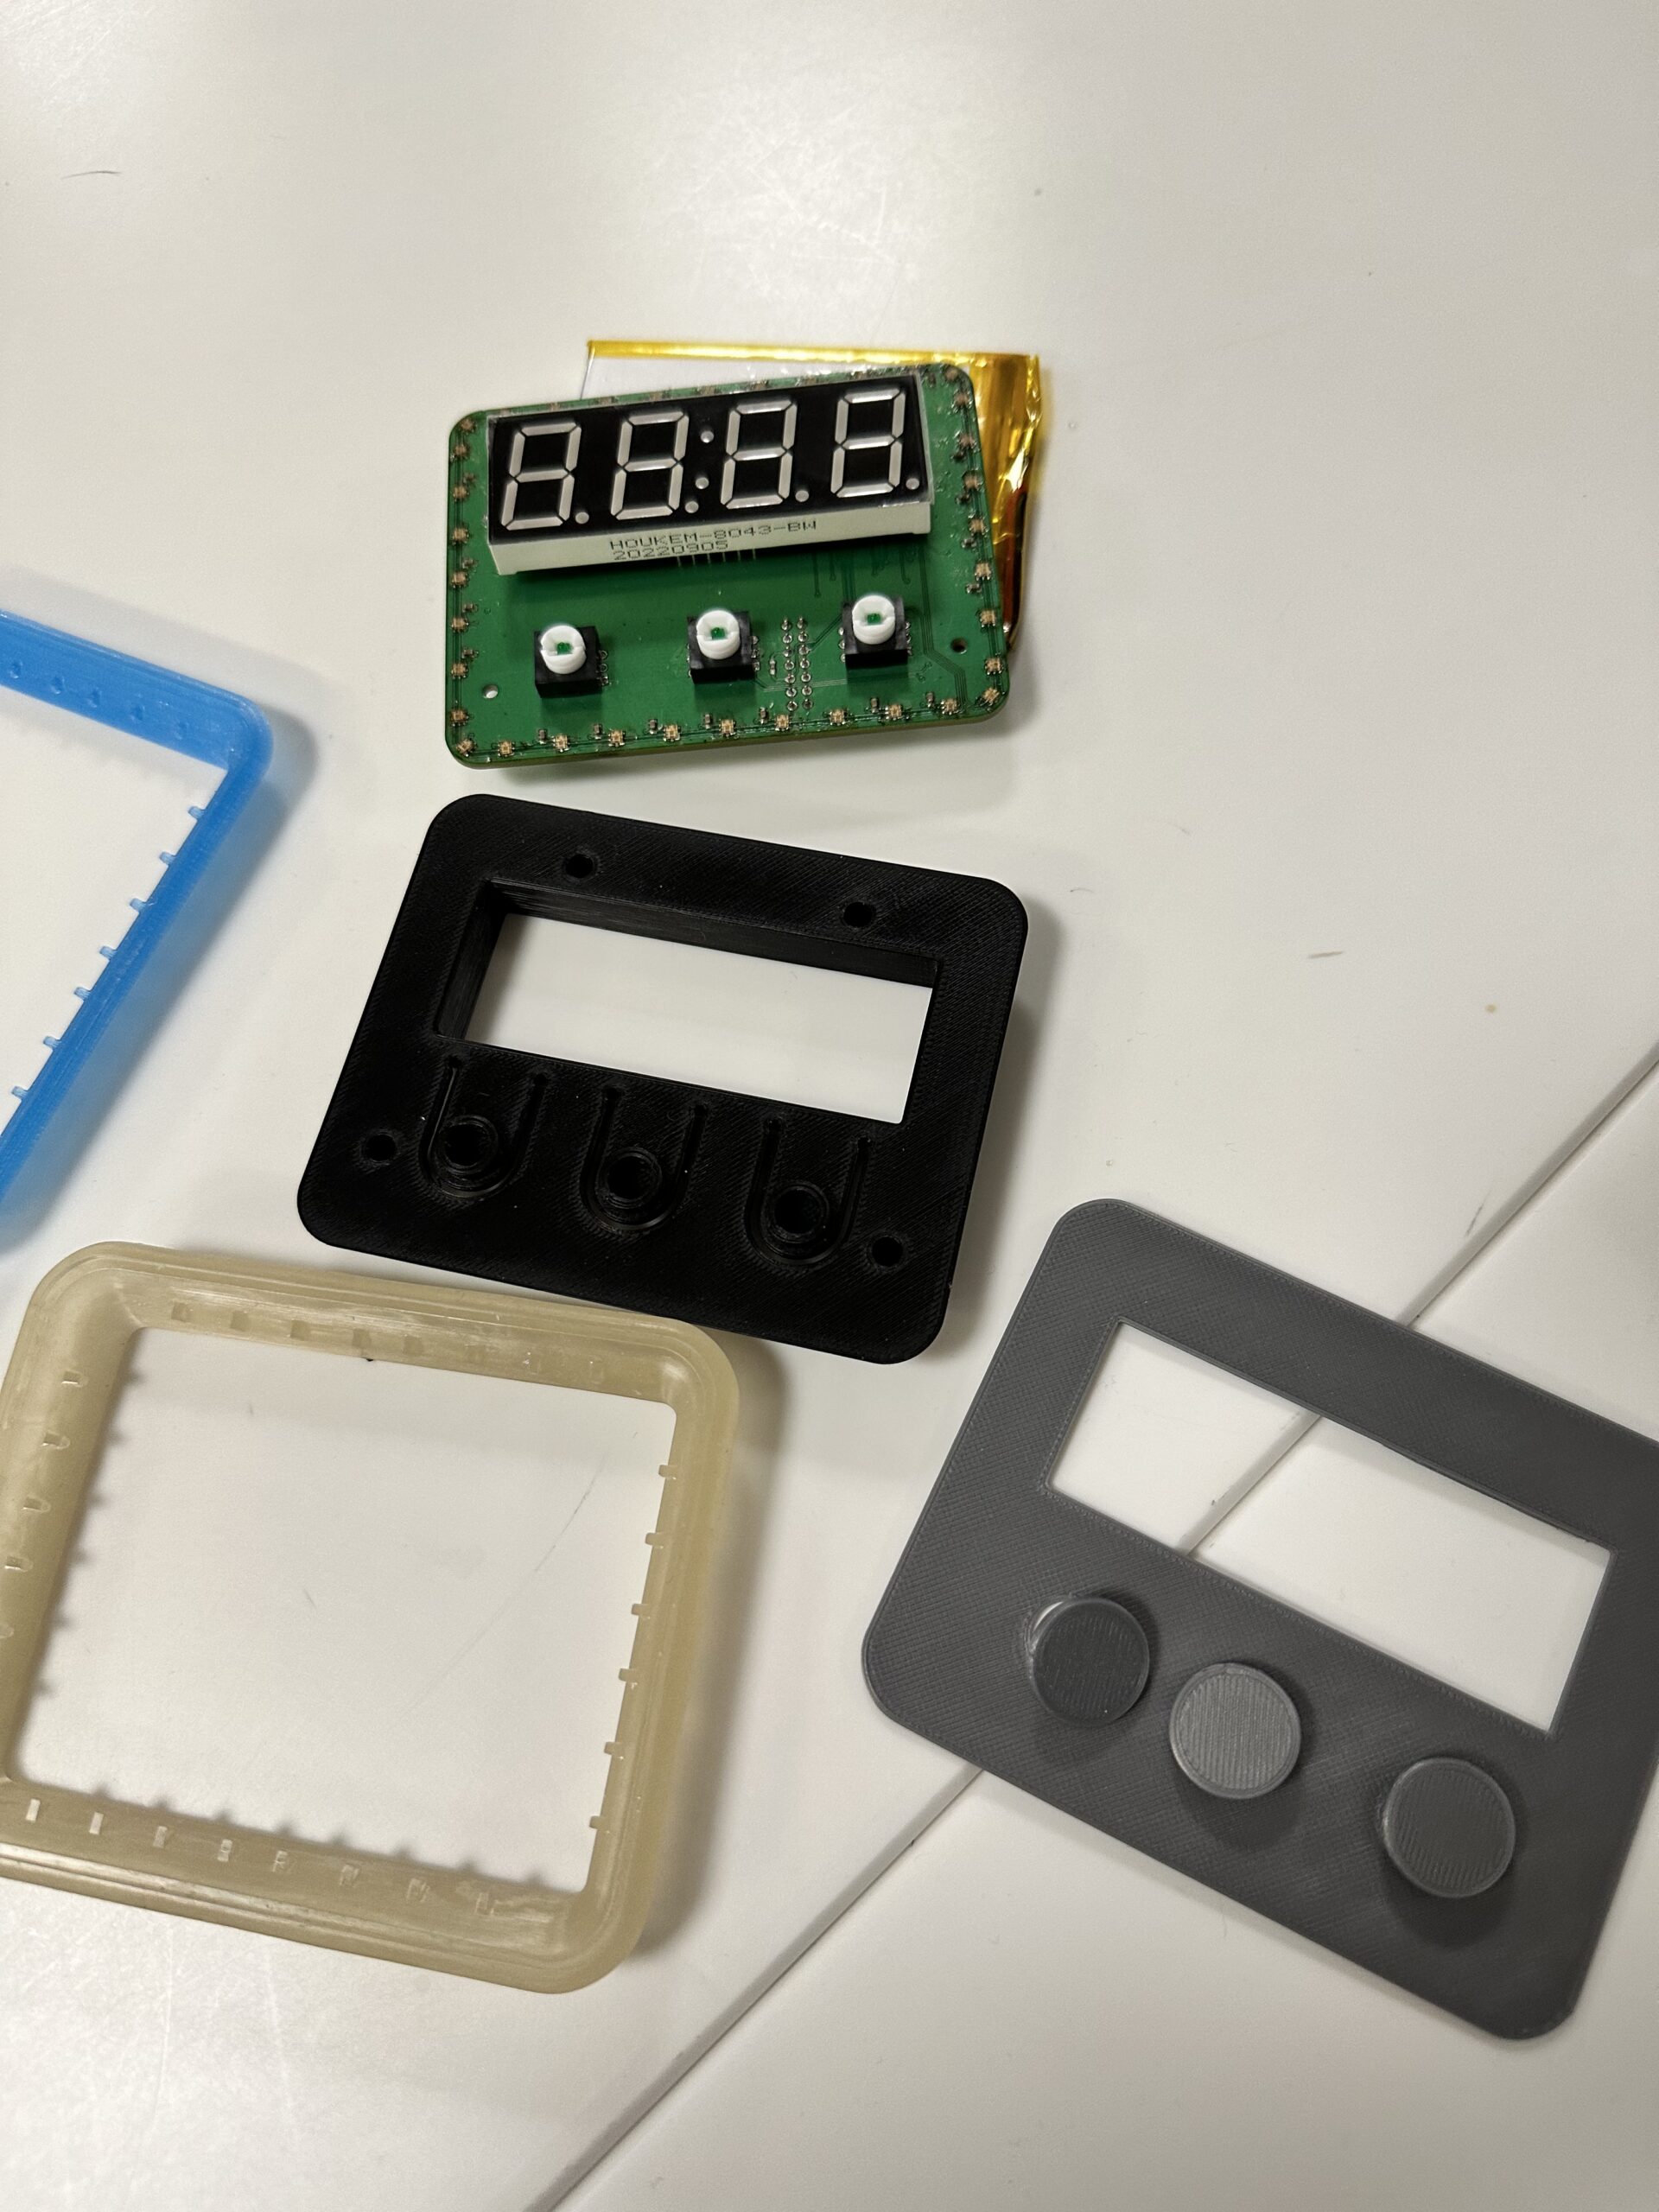
Quick-turn functional prototypes were fabricated to evaluate:
- User interaction and usability
- Optical brightness and uniformity
- Electronics functionality and power performance
- Mechanical fit and packaging integrity
Successive prototype builds incorporated geometric refinements, improved manufacturability, and user feedback from Cody and his team.
Prototypes were tested to validate:
- Functional performance
- Ease of use under real-world conditions
- Visual clarity under varying lighting conditions
4. Design for Manufacturing
As the design matured, DFM/DFA principles were integrated to support scalable production:
- Electronics optimized for component cost and assembly efficiency
- Enclosure geometry refined for injection molding
- Draft angles and tooling considerations implemented early
- Part count reduced to simplify assembly and lower cost
- Mechanical tolerances for simplified assembly and costs
RESULTS
The finalized design package and functional prototypes were transferred to Cody and a contract manufacturer to support production. Cody delivered on a successful Kickstarter campaign.
Related Projects
Automated Cell Therapy Manufacturing Platform
Child Monitoring Wearable
Electric Outboard Power Electronics
Secure Restaurant Payment System